|
Homemade Applesauce with a Special Twist
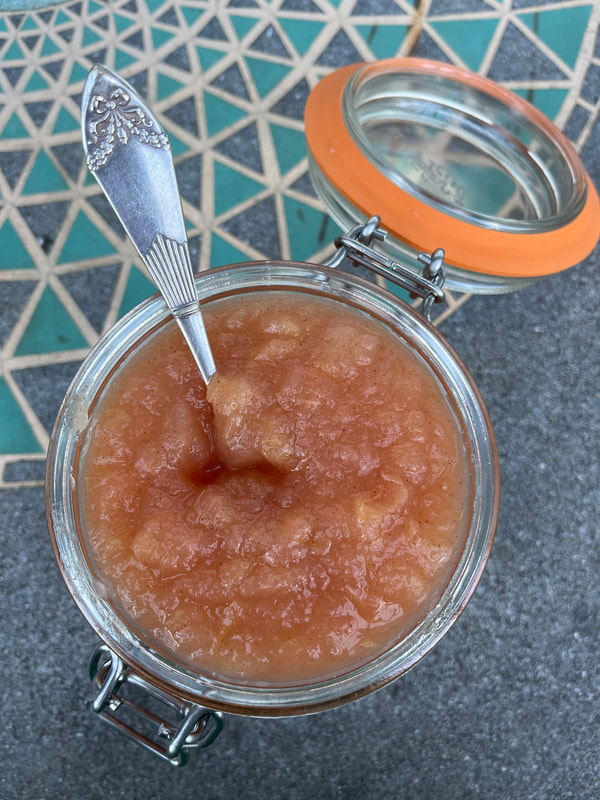
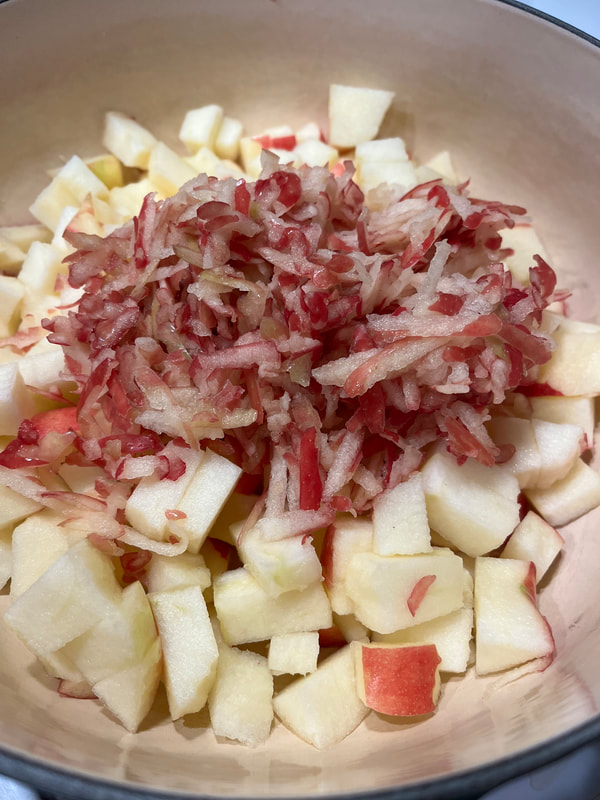
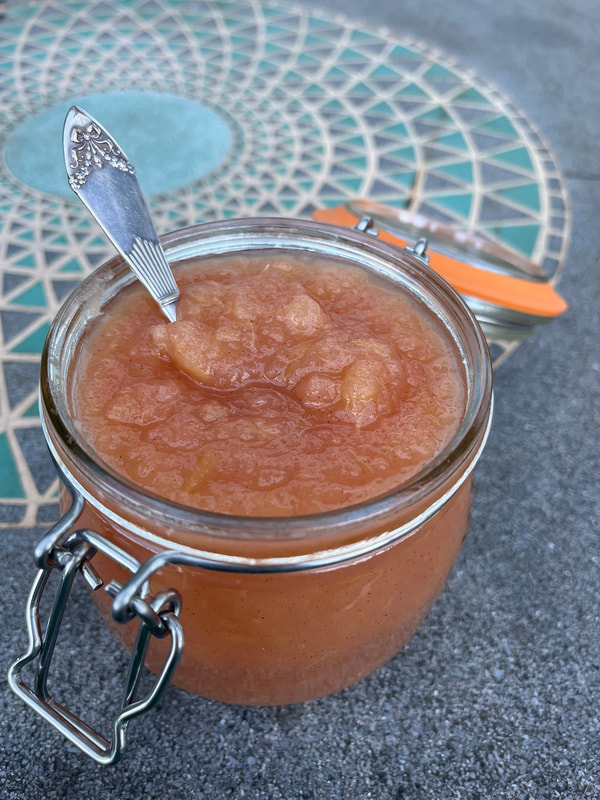
Most people peel their apples when making applesauce to keep the texture nice and smooth. But in the process they are discarding the most nutritious part! The apple peel is rich in gut loving and anti-inflammatory polyphenols including well known quercetin. Quercetin is most well known for inhibiting the production and release of histamine, thereby reducing the severity of seasonal allergies and other histamine related symptoms. The peel is also an excellent source of pectin a soluble fiber which can soothe the GI tract and can be especially helpful when struggling with diarrhea. Pectin is also fermented by good gut microbes and therefore helps support a healthy and diverse gut microbiome. Since we are keeping the peel on for this applesauce, it becomes increasingly important to choose ORGANIC apples, as conventional apples are highly sprayed with pesticides. And to help improve texture of applesauce, I recommend grating the apple peels instead of just coarsely chopping the apples. Although this is an extra step, it allows the apple peel to easily dissolve during the cooking process, leaving the texture more smooth. With the addition of the skin, and the increase in polyphenols and pectin, the applesauce is pinker in color and is thicker in texture. However, apples are rich in fructose and sorbitol, two kinds of sugars that are considered FODMAPs. If you don't tolerate either of these well, then applesauce (and apples) may trigger uncomfortable digestive symptoms until the underlying cause is addressed, such as SIBO (small intestinal bacterial overgrowth), which can lead to fructose malabsorption. Some people unfortunately, struggle with hereditary fructose intolerance, and will have to limit fructose entirely to avoid uncomfortable symptoms. Applesauce INGREDIENTS Organic apples Filtered water Lemon juice Spices (fresh ginger root, cinnamon, vanilla, etc) Sea salt Sweetener of choice (optional) - depending on the type of apple you may need more of less DIRECTIONS Wash your apples and grate the peels. Cut out the core and dice up the remaining apple flesh. Add the grated peels, apple bits, water, lemon juice, and your choice of spices to a large pot, cover, and bring to a simmer. Simmer until tender, about 15-20 minutes depending on the size of the chunks. Remove lid, and mash with a potato masher or whisk, stir in salt, and optional sweetener to taste. You may continue to simmer uncovered for a couple of minutes to evaporate excess water if needed until desired texture is achieved. Transfer to a sealable glass jar and enjoy. I love it with Nancy’s whole milk yogurt or cottage cheese. Show me your applesauce making skills!!
0 Comments
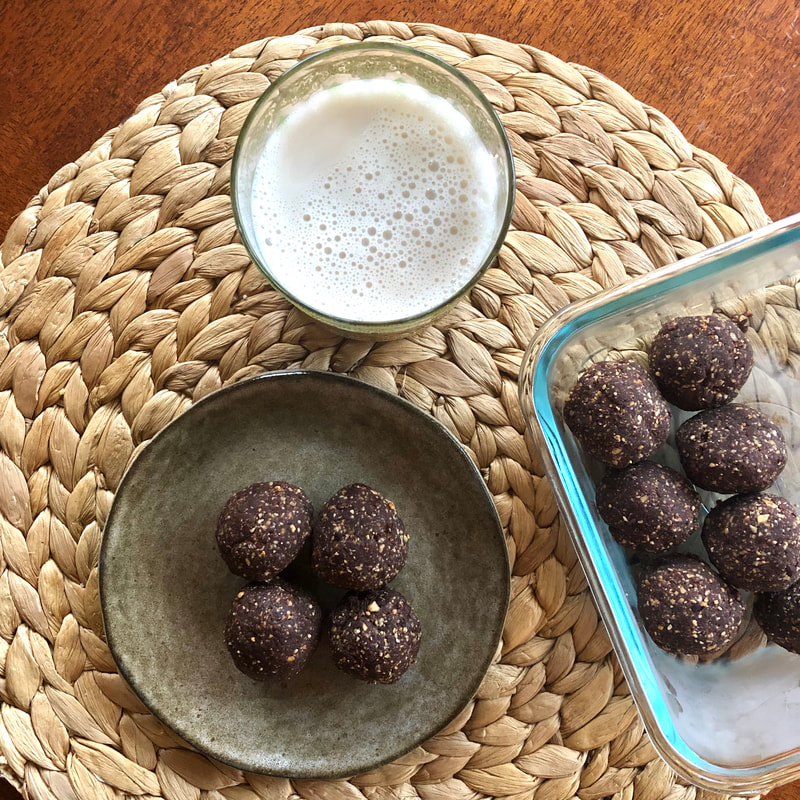
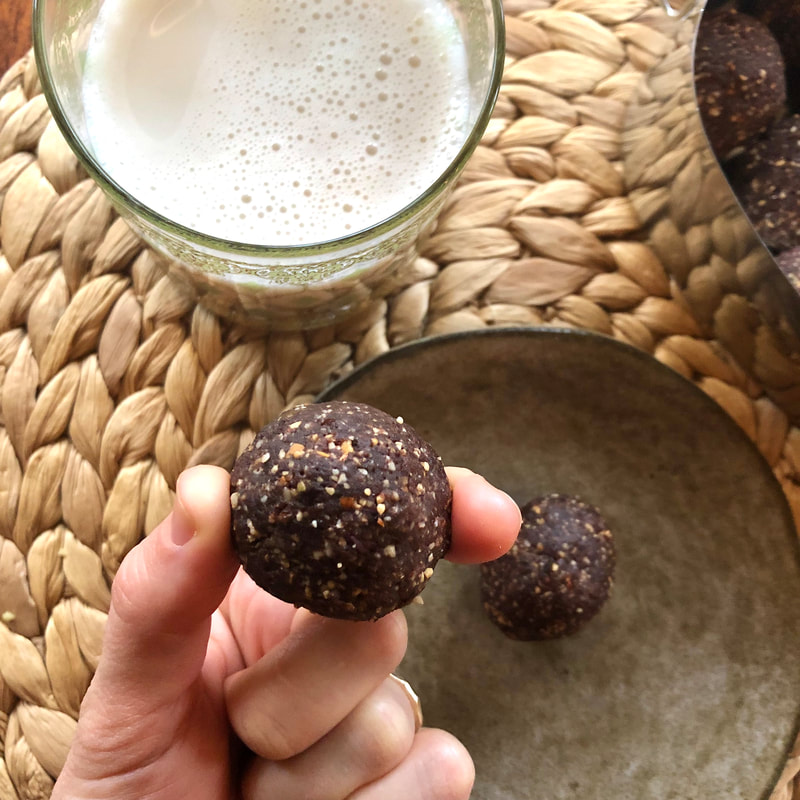
If you like chocolate and enjoy roasted nuts, then these little bites of heaven are for you. Whenever I offer one of these truffles to friends or family they always ask me, "Are you sure there is no sugar in these?". My answer is always, "Yes, it's just nuts, cacao, and dates!". I chose to use two different cacao powders. The extra dark cacao powder gives the truffles that rich dark chocolate flavor, but I didn't want it to be too rich, so I used regular cacao powder as well. Depending on your preference, or what you have at home, you can make your own personalized cacao blend. The cacao nibs give the truffles a little crunch (which I love). These truffle bites are the perfect little whole food treat that all will enjoy, trust me. You might as well make a double batch while you are at it! My favorite way to eat these truffles is to pair it along side a cold glass of unsweetened almond milk or a cup of hot green tea.
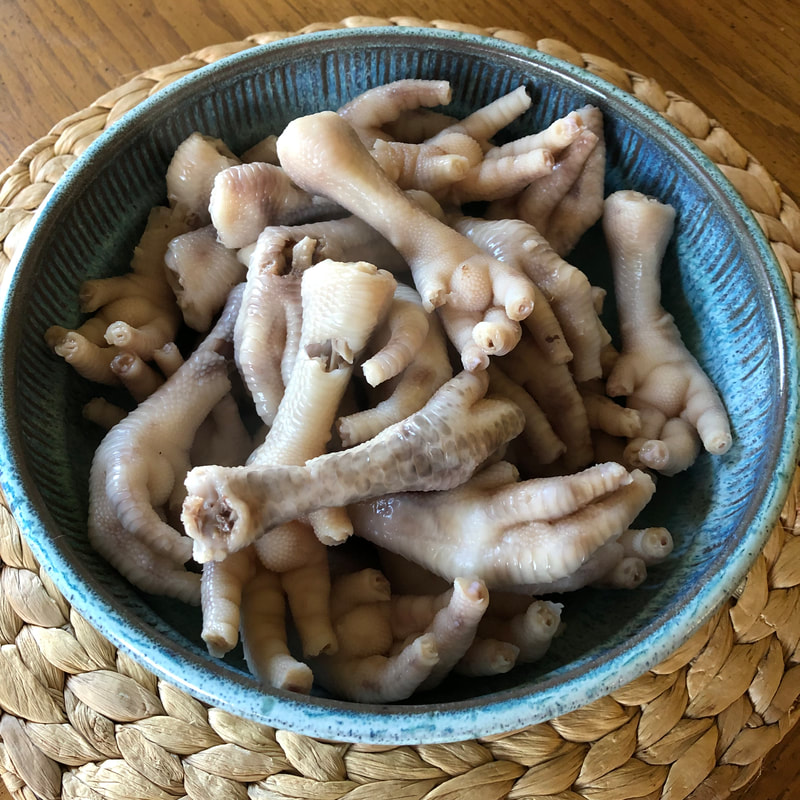
Make ~15 Truffles Time: ~ 1 hour (including 45 minute cool time) INGREDIENTS 1 heaping cup raw whole nuts (hazelnut/almonds, walnuts/pecans, cashews)* 8-9 medjool dates, pitted 1 tablespoon extra dark cacao powder (I got mine at Whole Foods) 2 tablespoons organic cacao powder (I used TJ's organic cacao powder) 1 tablespoon raw cacao nibs Generous pinch sea salt Optional: 2 scoops Healthy Origins Sunfiber DIRECTIONS Preheat oven to 350 degrees. Place nuts on baking sheet and roast for 6-8 minutes, depending on oven. Remove from oven, transfer to a plate, and allow to cool, about 15 minutes. If you are using smaller nut pieces they will roast faster. If you are using whole nuts they will roast slower. Make sure to watch your nuts carefully so that they don't burn. Once the nuts are cooled, transfer the nuts to a food processor and add the pitted dates, cacao powders, cacao nibs, and generous pinch sea salt. You can add optional Sunfiber to increase the prebiotic content of these nut balls. Sunfiber is partially hydrolyzed guar gum, a safe low FODMAP fiber that has been shown to increase the growth of good gut bacteria and help modulate bowel movements positively. Also, Sunfiber is naturally sweet, adding a little bit of sweetness to this treat. Process until the mixture sticks together when pressed between fingers, about 1 minute. Roll into even balls and store in an airtight container. Store in fridge or freezer. They are softer when stored in fridge and a bit firmer when frozen (my personal favorite). *My favorite nut combo is a blend of walnuts, hazelnuts, and cashews. Although most Americans may be weirded out by chicken feet, many cultures use chicken feet as part of their home cooking. Since feet are really high in connective tissue, they make a very gelatinous broth, more so than beef bones. If you want that jelly...then make chicken feet broth! If you are feeling a cold or flu coming on, needing extra collagen for healing after surgery or birth, or are wanting to boost your skin health, then drinking homemade bone broth can help.
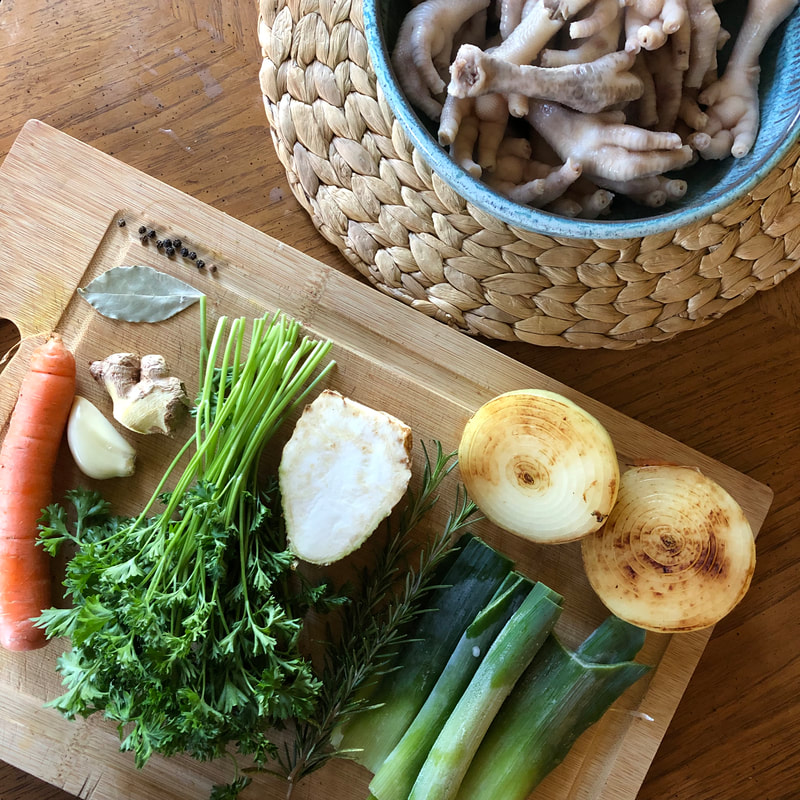
Makes 8-10 servings Time: 6-8 hours or more INGREDIENTS 2lbs chicken feet (I buy mine from Osprey Hill Farms) 1 whole onion, cut in half (keep peel on) 1 leek 1/2 small celeriac root 2 carrots (cut in half) 1/2 bunch parsley 2 cloves garlic 1 thumb length ginger root 1 sprig rosemary (or 2-3 sprigs thyme) 1 bay leaf 10-15 peppercorns Splash apple cider vinegar DIRECTIONS Bring a large pot of water to a boil. Add the chicken feet to the pot and boil for 5 minutes. Strain the chicken feet and briefly rinse under cold water. Using scissors, cut the nails off at the first joint. This is done very easily, you don't need special kitchen shears for this. Meanwhile, sear the onion face side down in a skillet until browned. Place the feet, seared onion and all the rest of the ingredients into a pot (or slow cooker) and cover with filtered water. Bring to a simmer, and reduce heat to low. Allow to very gently simmer for at least 4 hours, preferably 6-10. If using a slow cooker, put heat on low for 10 hours. Use only what is needed from the base pot of bone broth for soups or simply for drinking. Season that separately with salt, bouillon and/or dulse flakes. Pour more fresh filtered water into the bone broth pot to replace what has been taken out. Continue to simmer. Repeat this until the broth lacks flavor. Alternatively, you can transfer all of the bone broth into glass mason jars and freeze what is not needed for immediate use. For individuals with IBS & SIBO: If you want to make a Low FODMAP alternative simply omit the garlic and onion, and use only the green parts of the leek. Keep in mind some individuals with SIBO do not tolerate collagen rich broth. Use small amounts as tolerated. |
RecipesI hope you enjoy my creative, flavorful, and nutrient dense approach to whole foods cooking. All recipes are gluten free. Archives
December 2022
Categories
All
|
 RSS Feed

