|
Although you have probably tried many butternut, delicata, and spaghetti squash recipes, you likely haven't tried this winter squash variety yet. Kuri squash is by far my favorite choice for soups because it delivers this beautiful bright orange, creamy soup, that other squash varieties just can't meet. Plus, this soup is rich in fiber and polyphenols because you can eat the peel of the squash unlike many other squash varieties. You can find Kuri Squash at your local grocery store or Farmer's Market. Kuri squash also tastes great as an alternative for pumpkin pie. Since this soup is low in protein, I highly recommend pairing it with a protein rich food. For example a salad topped with grilled chicken breast or burger patty, a tuna sandwich, or simply cut in some leftover cooked protein when reheating a serving.
Coconut Ginger Red Kuri Soup INGREDIENTS 1 small Red Kuri squash 1 medium yellow onion 1 medium apple 2 inches ginger root 4 cloves garlic 1 tablespoon olive oil 1/4 teaspoon sea salt 1 can organic coconut milk 2 teaspoons Better than Bouillon Organic Vegetable paste Juice of 1/2 to 1 lemon Fresh ground pepper to taste Optional: chili flakes DIRECTIONS Cut the kuri squash in half and remove the seeds. Then cut into quarters. Steam the squash in a steamer basket over medium heat until tender when pierced with a fork, about 15-20 minutes. Allow to cool enough to handle. Chop into chunks. Meanwhile, prepare the remaining ingredients. Peel the onion and dice. Chop the apple into chunks, leaving the skin on. Peel and dice the ginger root and garlic cloves. In a large soup pot, heat olive oil over medium heat. Once hot add the prepared veggies, reduce heat to medium low, stir in 1/4 teaspoon sea salt, and saute until onions are glassy. Then pour in the can of coconut milk. Fill up the empty can of coconut milk with water and add that to the veggies as well. Add the Better than Bouillon, and add the coarsely chopped kuri squash and stir to combine. Increase heat to medium high and bring the soup to a simmer. Reduce heat to medium low and simmer for ~10 minutes. Then remove from heat and puree with an immersion blender. Add fresh ground pepper and lemon juice to taste, starting with the juice of 1/2 lemon and increasing to taste. Season with additional salt and chili flakes if desired.
0 Comments
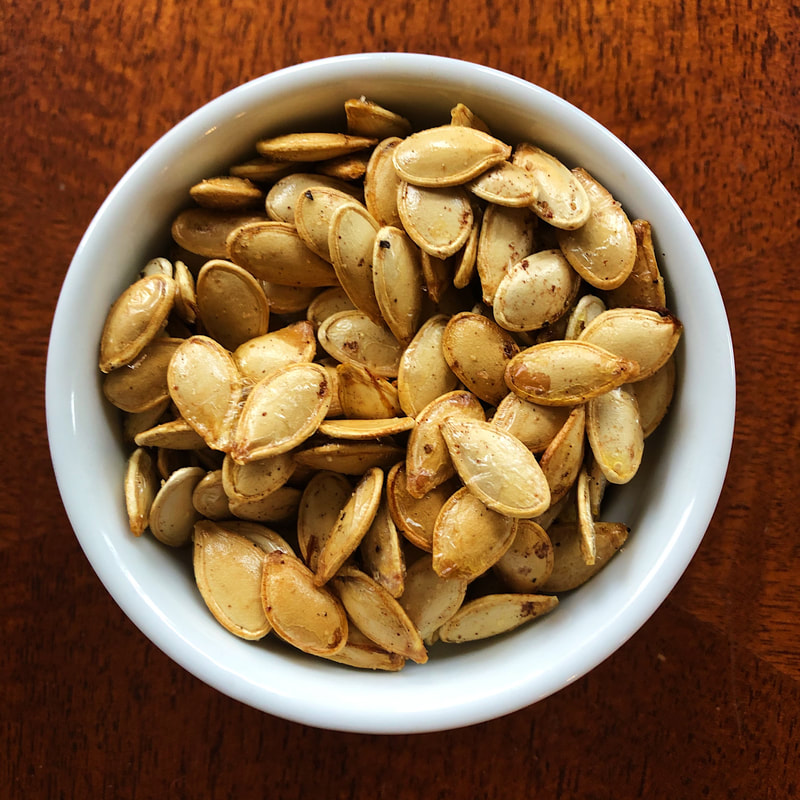
It’s pouring sideways rain here in Bellingham, the perfect weather for a light pumpkin soup. I have been yearning for the Fall and all the bits of cozy that comes with it. Although I love salads, soups are a wonderful way to eat your veggies while also supporting digestion. Raw veggies are one of the hardest foods to digest, especially if you are not taking the time to chew them well. Therefore, soups can be an excellent meal for anyone struggling to optimally digest their foods. Soups are much easier for the stomach to breakdown because the ingredients are soft and tender. This is especially true if you make a pureed soup like this pumpkin soup. Usually, the stomach churns our food with stomach acid to make a liquidy soup called chyme. However, when the food is already pureed, the stomach has little work to do. Therefore, soups are a wonderful meal for anyone who has increased healing needs or has digestive concerns because the nutrients are much easier absorbed. For this recipe I used a pie pumpkin (or otherwise known as sugar pie pumpkin), but you can choose whatever winter squash you have on hand. I also used homemade bone broth, rich in flavor and nutrition. I do not skim the fat because the fat provides flavor and increases the absorption of the beta-carotene in the pumpkin flesh. If you are using store bought bone broth (Bonafide is a great option) it is fat free, and therefore I would suggest adding organic heavy cream or full fat coconut milk to your liking. Bone broth is an excellent choice to increase the protein content of otherwise a low protein meal. Rich in collagen, bone broth helps support the healing and repair of connective tissues (think, gut lining, bone, tendons, hair, skin, nails). Along with ample amounts of prebiotic fiber rich onions and garlic this pureed soup also supports the growth of good gut bacteria. If you want, you can even roast the pumpkin seeds for little salty and nutritious snack. Simply preheat the oven to 400 degrees, rinse the seeds under water to remove excess pumpkin fibers, and lay on a parchment lined baking sheet. Spray with extra virgin olive oil, and season with salt, pepper, and your choice of spices. Roast for 12-15 minutes or until golden brown and crispy. Voila, now you have a nourishing soup and a tasty snack! Simple Gingered Pumpkin Soup Serves 4 INGREDIENTS 1 small pie pumpkin (got mine at TJs) 1 large yellow onion 3-4 cloves garlic 3 inches ginger root 1 tablespoon olive oil 3 cups homemade bone broth (see note above if using store bought) 2-3 T honey 2 T apple cider vinegar 3/4 tsp sea salt (adjust as needed) Fresh ground pepper Pinch chili flakes DIRECTIONS Quarter the pumpkin, scoop out seeds (roast if desired), and place into a pot filled with some water and a steamer basket. Steam, covered, over medium heat for about 15-20min or until tender. Meanwhile, peel and chop the onion, garlic, and ginger. In a soup pot add a glug of extra virgin olive oil and sauté the chopped veggies over medium low until glassy and tender, about 10 minutes. Add the steamed pumpkin flesh (leave skin behind), and add the bone broth. Cover and cook over medium low for another 10 minutes. Once ready, using an immersion blender, puree the soup to your liking. Season with honey, vinegar, salt, pepper, and chili flakes. Adjust seasonings to your liking. Note: If you want to keep the recipe vegetarian, simply use vegetable broth (may need to adjust salt down because most store bought vegetable broths are pre-salted), and add coconut milk or heavy cream for creaminess and flavor. Happy Fall,
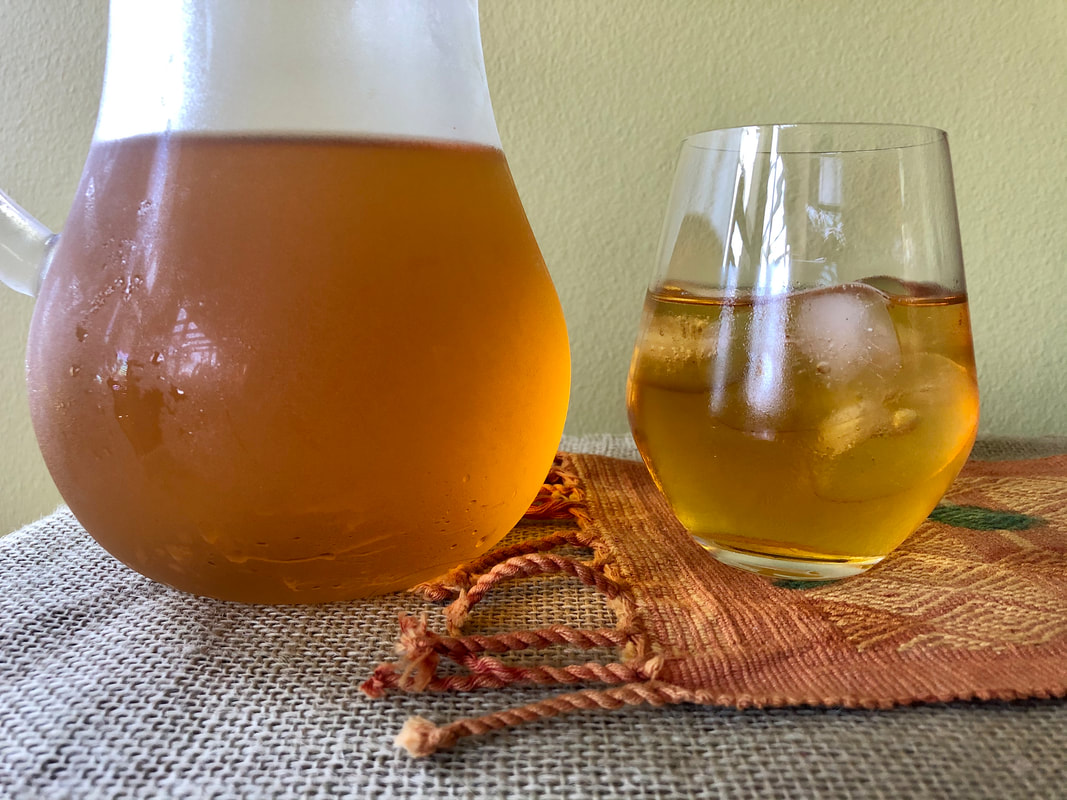
Selva Have you ever tried making COLD INFUSED GREEN TEA?? It's color ranges between a beautiful golden amber hue to a light yellow-green depending on the tea that it used, is light in flavor, and by some considered "sweet" in comparison to the strong bitter flavor of hot tea because the tannins are not extracted. This also makes cold brew more gentle to drink, as tannins can irritate the gut causing nausea or discomfort in some people. Interestingly, research has found that cold brew green tea is much higher in antioxidants called polyphenols than the hot water infused tea alternative. It does take some time, but it doesn’t take much effort on your behalf. Plus, cold brew green tea is much lower in caffeine than hot brew, containing about half the amount of caffeine per serving (~15mg per cup). This makes it a wonderful alternative for caffeine sensitive individuals and anyone looking to boost their polyphenol intake! Of course, you have all heard that green tea is good for you…but why?? The polyphenol in green tea called epigallocatechin gallate (EGCG) has been found to be effective against multiple aspects of cancer development and progression and can be considered a safe and effective approach to cancer prevention and therapy. Furthermore, researchers have found that EGCG activity is enhanced by the presence of vitamin C (like lemon juice)! Some studies have also looked at green tea and its ability to improve skin health, reduce acne, and may also provide protection from UV damage and sunburns. In terms of gut health, due to its rich polyphenol content, regular green tea consumption encourages the growth of beneficial microbes called Bifidobacterium. Research has also found that green tea consumption may help offset the dysbiosis (imbalance of good and bad bacteria) and inflammation caused by high fat diets. Since green tea is in the top 100 polyphenol rich plant foods, no wonder it can do so much good! Cold Brew Green Tea With the summer weather upon us, and cold beverages a pleasant delight, I hope you will try to make your own cold brew green tea. There are various types of green tea you can try. I personally have used jasmine green tea for a lighter more floral option and gunpowder for a robust earthy flavor. Choose any green tea that you enjoy! Add a squeeze of lemon to enhance the properties of EGCG or add a splash of cream for a bit of decadence. Drinking 2-3 cups of cold brew green tea daily can provide many powerful anti-inflammatory and gut friendly benefits. Makes 8 cups INGREDIENTS 2 tablespoons loose leaf organic green tea 8 cups of filtered water Optional Add-ins (when serving): Freshly squeezed lemon juice Rose water Mint leaves Organic Half and Half or Cream Sweetener of choice DIRECTIONS Add 8-10 cups of filtered water into a large stainless steel pot. Stir in loose leaf green tea. Cover with lid and place into refrigerator. Allow the tea to infuse for 6-8 hours, or even overnight (see note below). Stir briefly every few hours if able. Also give it a good stir before straining. Stirring gently agitates the leaves to encourage the diffusion of the polyphenols into the water. The more often you stir, the more flavorful and potent the brew. Pour the infusion through a fine mesh sieve into a large bowl with a pourable lip. Transfer the strained cold brew into glass jars/bottles. Store in refrigerator. Enjoy plain, with a squeeze of fresh lemon juice (enhances the activity of the ECGC), a ¼ tsp of rose water for an extra floral aroma (this pairs nicely with jasmine green tea or emerald cloud green tea), a sprig of fresh mint, or a splash of cream (pairs well with the more robust gunpowder green tea). Add sweetener if desired and pour over ice. *Note: The longer you infuse the tea, the more robust the flavor. If this is your first time making it, try your cold brew at 6 hours and then decide if you want to infuse it longer for more flavor. Are you going to give this a try?? Let me know what you think!
Eat Happy, Selva |
RecipesI hope you enjoy my creative, flavorful, and nutrient dense approach to whole foods cooking. All recipes are gluten free. Archives
December 2022
Categories
All
|




 RSS Feed

