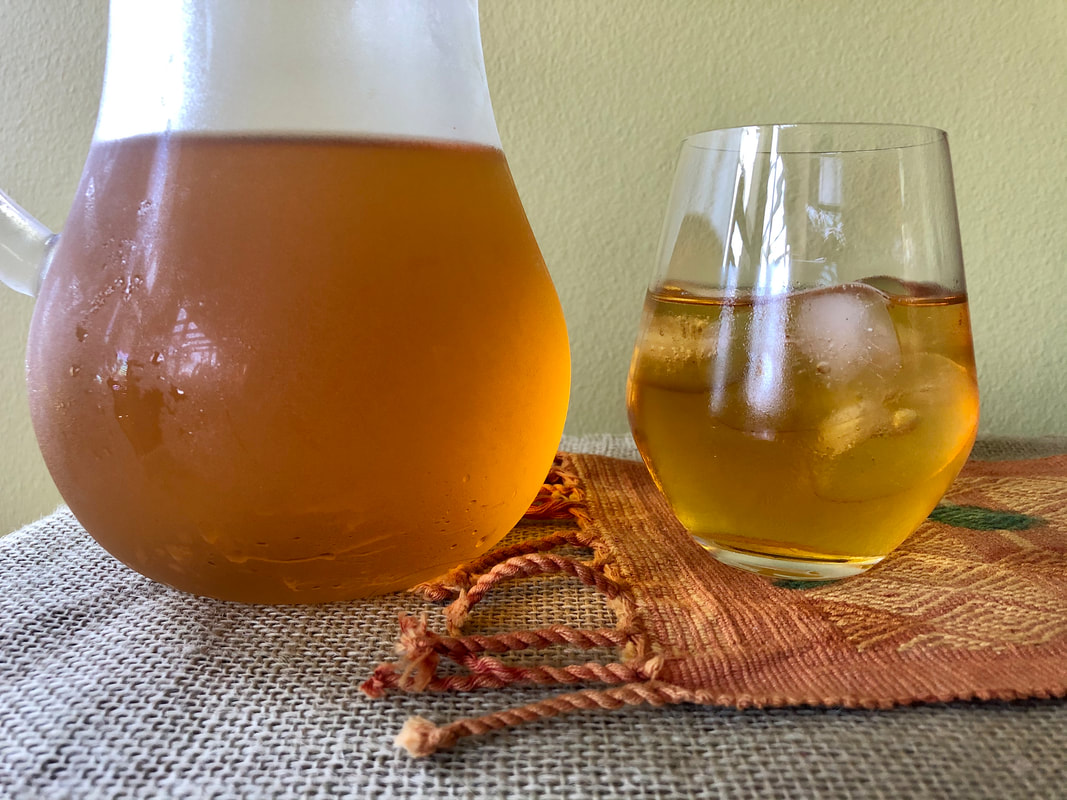
 Have you ever tried making COLD INFUSED GREEN TEA?? It's color ranges between a beautiful golden amber hue to a light yellow-green depending on the tea that it used, is light in flavor, and by some considered "sweet" in comparison to the strong bitter flavor of hot tea because the tannins are not extracted. This also makes cold brew more gentle to drink, as tannins can irritate the gut causing nausea or discomfort in some people. Interestingly, research has found that cold brew green tea is much higher in antioxidants called polyphenols than the hot water infused tea alternative. It does take some time, but it doesn’t take much effort on your behalf. Plus, cold brew green tea is much lower in caffeine than hot brew, containing about half the amount of caffeine per serving (~15mg per cup). This makes it a wonderful alternative for caffeine sensitive individuals and anyone looking to boost their polyphenol intake! Of course, you have all heard that green tea is good for you…but why?? The polyphenol in green tea called epigallocatechin gallate (EGCG) has been found to be effective against multiple aspects of cancer development and progression and can be considered a safe and effective approach to cancer prevention and therapy. Furthermore, researchers have found that EGCG activity is enhanced by the presence of vitamin C (like lemon juice)! Some studies have also looked at green tea and its ability to improve skin health, reduce acne, and may also provide protection from UV damage and sunburns. In terms of gut health, due to its rich polyphenol content, regular green tea consumption encourages the growth of beneficial microbes called Bifidobacterium. Research has also found that green tea consumption may help offset the dysbiosis (imbalance of good and bad bacteria) and inflammation caused by high fat diets. Since green tea is in the top 100 polyphenol rich plant foods, no wonder it can do so much good!  Cold Brew Green Tea With the summer weather upon us, and cold beverages a pleasant delight, I hope you will try to make your own cold brew green tea. There are various types of green tea you can try. I personally have used jasmine green tea for a lighter more floral option and gunpowder for a robust earthy flavor. Choose any green tea that you enjoy! Add a squeeze of lemon to enhance the properties of EGCG or add a splash of cream for a bit of decadence. Drinking 2-3 cups of cold brew green tea daily can provide many powerful anti-inflammatory and gut friendly benefits. Makes 8 cups INGREDIENTS 2 tablespoons loose leaf organic green tea 8 cups of filtered water Optional Add-ins (when serving): Freshly squeezed lemon juice Rose water Mint leaves Organic Half and Half or Cream Sweetener of choice DIRECTIONS Add 8-10 cups of filtered water into a large stainless steel pot. Stir in loose leaf green tea. Cover with lid and place into refrigerator. Allow the tea to infuse for 6-8 hours, or even overnight (see note below). Stir briefly every few hours if able. Also give it a good stir before straining. Stirring gently agitates the leaves to encourage the diffusion of the polyphenols into the water. The more often you stir, the more flavorful and potent the brew. Pour the infusion through a fine mesh sieve into a large bowl with a pourable lip. Transfer the strained cold brew into glass jars/bottles. Store in refrigerator. Enjoy plain, with a squeeze of fresh lemon juice (enhances the activity of the ECGC), a ¼ tsp of rose water for an extra floral aroma (this pairs nicely with jasmine green tea or emerald cloud green tea), a sprig of fresh mint, or a splash of cream (pairs well with the more robust gunpowder green tea). Add sweetener if desired and pour over ice. *Note: The longer you infuse the tea, the more robust the flavor. If this is your first time making it, try your cold brew at 6 hours and then decide if you want to infuse it longer for more flavor. Are you going to give this a try?? Let me know what you think!
Eat Happy, Selva
1 Comment
 I craved this meal EVERY day the last seven days. The colors, the flavors, and the ease made it my go-to lately. It is satisfying, filling, and rich in gut friendly fiber and polyphenols. Plus, it is easily adaptable to what you have around, another huge benefit to this meal. In general, I aim to have one plant-based meal per day, and this has been one of my favorites. If you don't usually eat beans daily, then I suggest gradually incorporating more beans into your diet. If you go from null to WHAM, then you may have some tummy discomfort. For most people, 1/2 cup of beans or lentils per day is a great goal to shoot for. Not only are beans rich in prebiotic rich fibers called galactooligosaccharides, they are also a great source of plant protein. They are also an excellent source of molybdenum a nutrient that falls short if beans/legumes are omitted fro the diet and sulfur intake is high. Unfortunately, many current fad diets shun beans and legumes unnecessarily. Individuals with gut inflammation or IBS/SIBO may not tolerate beans and legumes until inflammation subsides or SIBO is treated. However, just because you cannot tolerate them now, doesn't mean you never will, nor that they are "BAD" for you. Beans and legumes can be a wonderful dietary staple, that are cheap, nutritious, and microbiome friendly. If you are on a SIBO Bi-Phasic Diet or a Low FODMAP diet, 1/2 cup canned brown lentils are often well tolerated. However, same rule applies here too. If you haven't eaten many beans or legumes, start slow!  FeedME! Belly Bowl I am calling this bowl, FeedME! Not only am I fueling myself with nutritious food, but I am also feeding my good gut bacteria a wide variety of prebiotic rich plant compounds and fibers. For the veggie base, you can use whatever you have on hand. I have used chard, spinach, zoodles, etc. For the beans/legumes, I change it up with whatever is in the fridge or pantry. Lately, I have been making my own beans/lentils in the InstaPot after a 24 hour soak. It's cheaper and there is less waste. But canned and rinsed beans are just fine too. I would recommend Eden's brand if possible. If you have leftover ground meat you can use that in place of the tofu if you like. Pretty much you can use whatever you have available. Time: 10 minutes Serves 1 INGREDIENTS Extra virgin olive oil 1 - 3oz serving extra firm sprouted tofu - crumbled by hand ~1/4 teaspoon curry powder (or any spice/herb blend you like) 1/2 cup cooked beans/legumes 1/4 cup leftover cooked quinoa or rice Cilantro, basil, or parsley Veggie Base (dark leafy greens, zucchini) Salt & Pepper Corn Tortilla (crispy taco shells or chips work too) Garnishes Avocado Salsa Fermented veggies for good gut bug (lately I have used fermented beets) Broccoli Sprouts (or any kind of sprouts) Pecorino/Parmesan/Feta (or any kind of salty cheese) - can replace with dukkah if dairy free. DIRECTIONS Over medium-low, heat a small pan and add a little splash of olive oil. Once hot add a serving of crumbled tofu (I simply break it up in my hands until it's in small "ground" pieces). Season with your choice of spice blend (I typically use curry powder), salt and pepper. Sauté the tofu for 1-2 minutes, then add the beans, leftover cooked grain, and fresh herbs if desired. Stir until combined, season with salt and pepper, and cook for another 1-2 minutes or until heated through. Meanwhile, heat another small pan (I use cast iron) over medium low and add a little splash olive oil. Once hot add a corn tortilla and cook two minutes, then flip sprinkle with salt, and cook another minute or two or until the tortilla is crispy and little bubbles form. Once done, roll the corn tortilla up and let rest in the warm pan on the outer flap to seal in a cylinder if desired. Alternatively, you can bake corn tortilla shells in the oven per package instructions, or serve with a handful of chips. In a bowl add a handful of your veggie base (whatever you want), heat briefly in the microwave for 60 seconds until wilted ( or leave raw if desired), and drizzle with olive oil. Then top with your tofu/bean mixture. Add your favorite sides and sprinkle with salty cheese. Serve with a crispy corn tortilla and dig in!! Are you craving this belly bowl too?? Let me know what you and your belly bugs think :)
Eat Happy, Selva 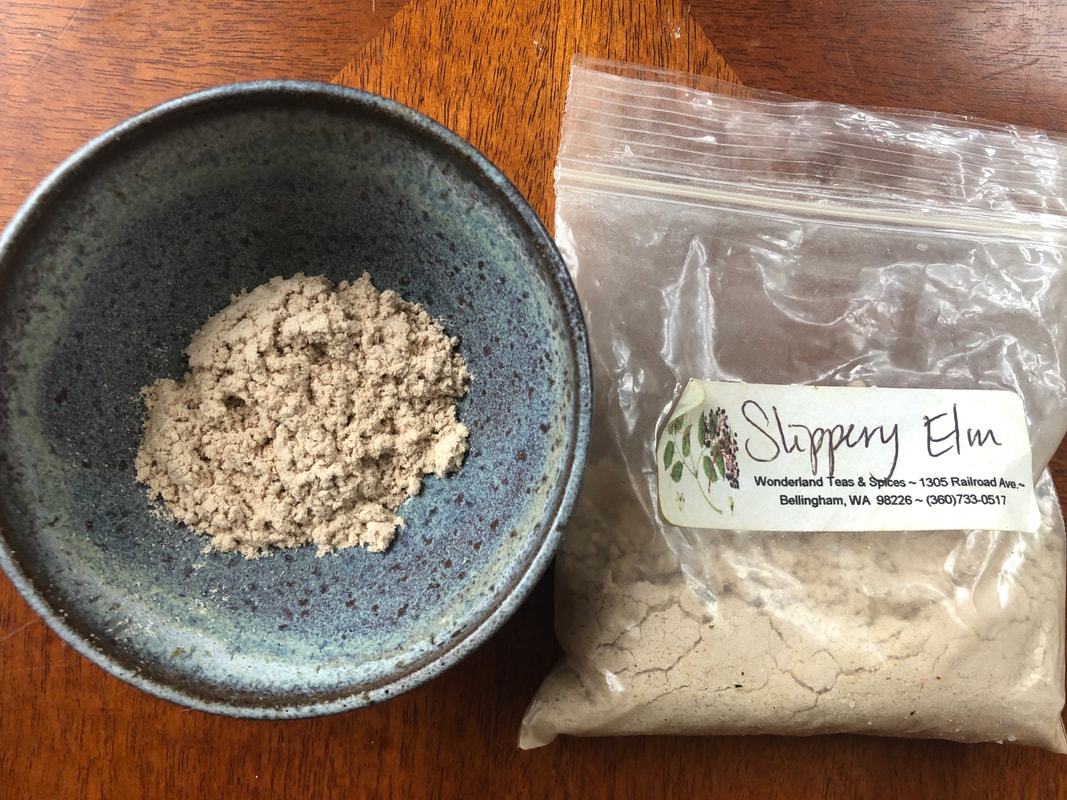 Slippery elm bark powder is a wonderful herb used for healing common digestive ailments. It has no known toxic effects and therefore is considered safe for children, pregnant women, and adults a like. Due to its demulcent properties slippery elm in used to heal irritated and inflamed mucous membranes along the digestive tract, including esophageal irritation, GERD/acid reflux, and gastric ulcers. It is also used to alleviate both diarrhea and constipation. When mixed with boiling water slippery elm becomes a slimy consistency due to its unique carbohydrates called polysaccharides. These polysaccharides are considered prebiotics and may therefore cause symptoms in some patients with SIBO. If you do have SIBO, it may be best to use slippery elm slowly and cautiously and monitor for symptoms. Usually, patients tolerate slippery elm well after SIBO has been treated. However, for most slippery elm is very well tolerated and is considered safe for regular use. You can drink slippery elm as a tea in combination with other demulcents in Traditional Medicinals Throat Coat blend, you can use slippery elm lozenges, or you can make your own slippery elm gruel (my preferred method) and eat it straight or mix it into other mucilaginous porridges like oatmeal or buckwheat porridge.
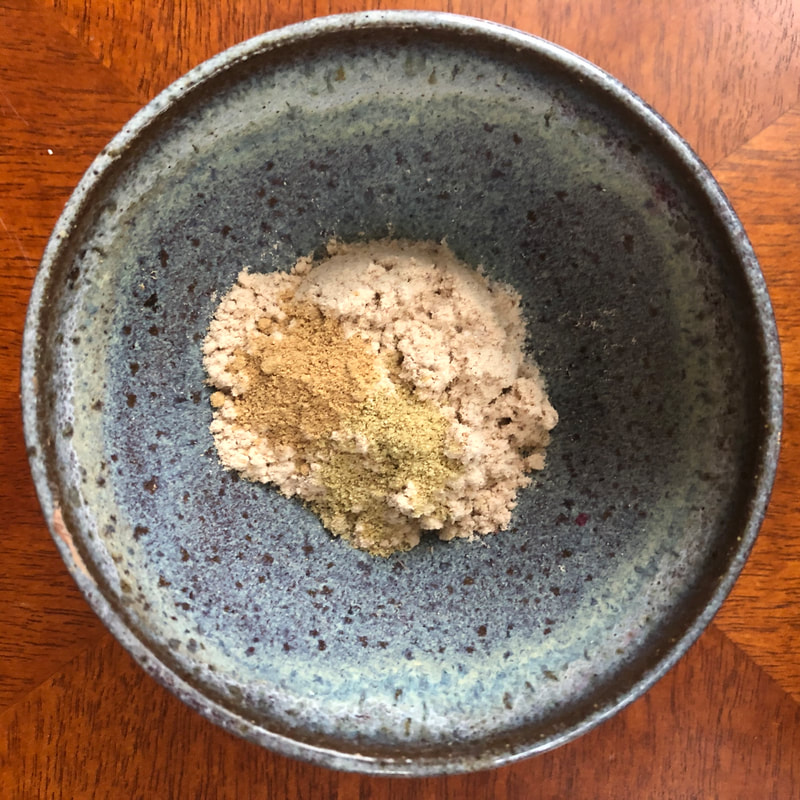
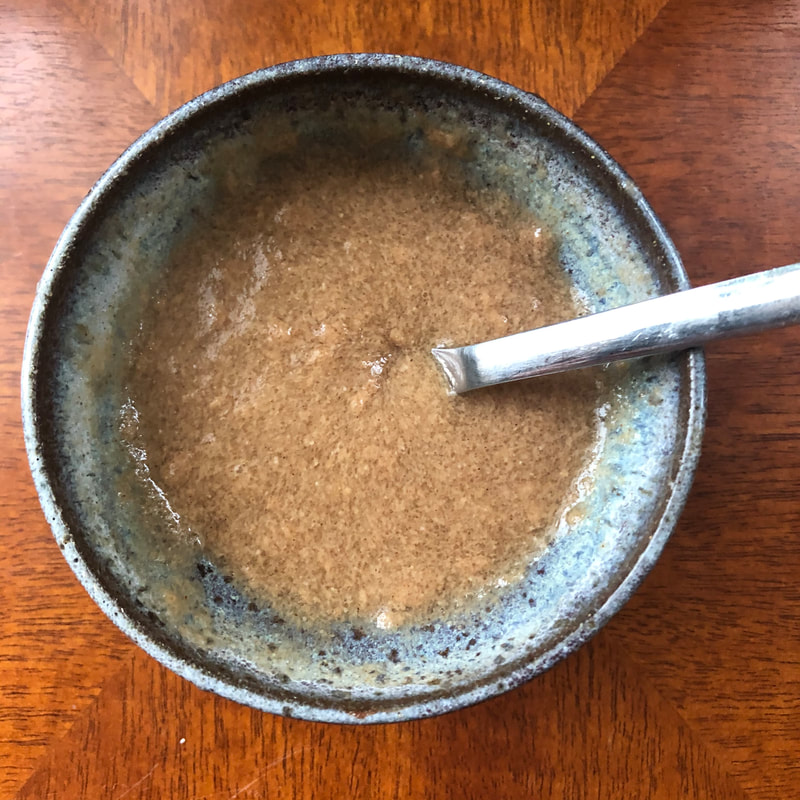
Slippery Elm Gruel Making a gruel is a great way to get larger therapeutic amounts of the herb in one sitting. If you are new to slippery elm gruel, I would suggest starting with a smaller amount to see if you tolerate it well (especially if you have SIBO or IBS). Ideally, it is best to take the gruel on an empty stomach such as before bed or in between meals. To enhance the the flavor of the slippery elm bark gruel I like to add ground fennel and ginger due to their gut healing benefits, but these are optional. I also like to sweeten it with a little drizzle of honey to make it taste like a little treat. You can find slippery elm bark powder at your local herb shop. In Bellingham, you can find it at Living Earth Herbs and Wonderland Herbs. You can also find slippery elm bark powder online at Mountain Rose Herbs. Makes 1 Serving INGREDIENTS 1/2 tablespoon slippery elm bark powder Sprinkle ground fennel (optional) Sprinkle ground ginger (optional) Pinch sea salt (optional) 3-4 tablespoons boiling water Drizzle honey (optional) DIRECTIONS Bring water to a boil. Meanwhile, in a small bowl mix together the slippery elm bark powder with the optional spices, and salt. Pour in the hot water, and begin to stir vigorously with a spoon until a gelatinous pudding forms. Stir in optional honey and enjoy. Have you used slippery elm before?
Eat Happy, Selva |
RecipesI hope you enjoy my creative, flavorful, and nutrient dense approach to whole foods cooking. All recipes are gluten free. Archives
December 2022
Categories
All
|
 RSS Feed

|

|
Providing custom functional nutrition therapy since 2015.
Follow HBN on Social Media!
©Happy Belly Nutrition, LLC 2015-2023