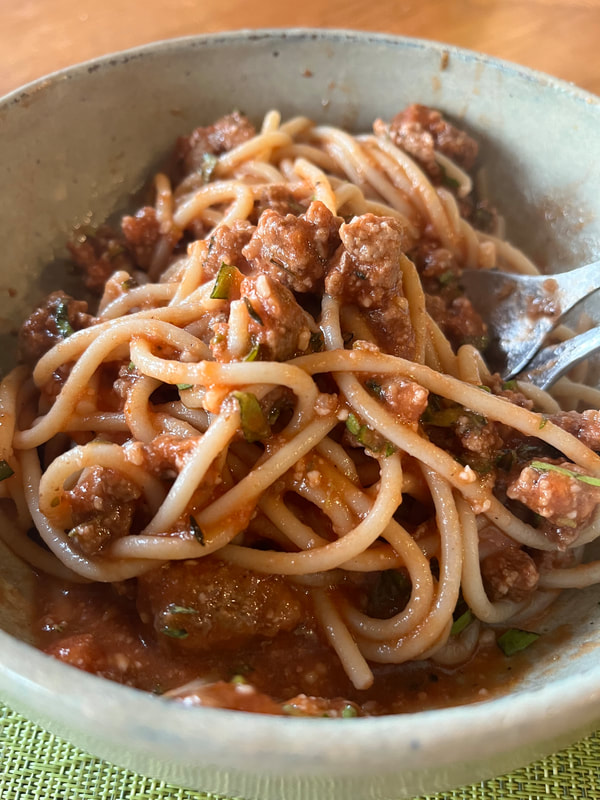
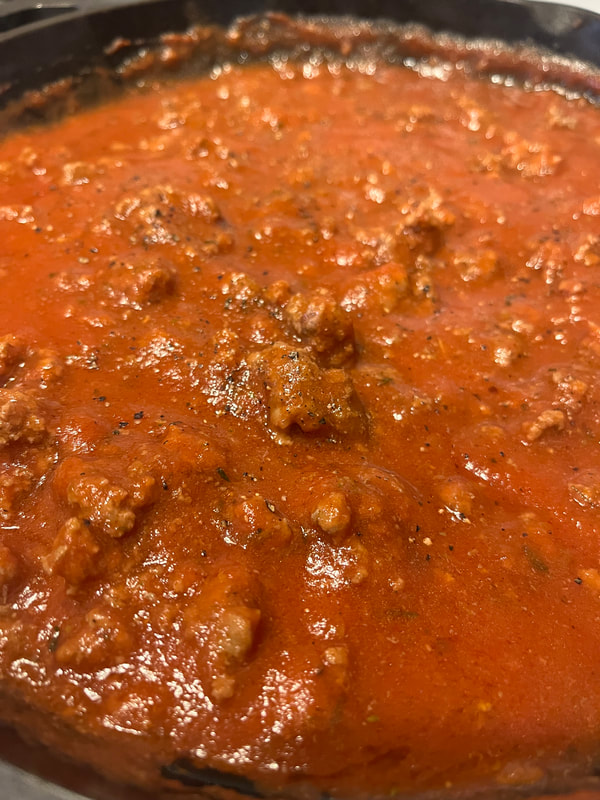
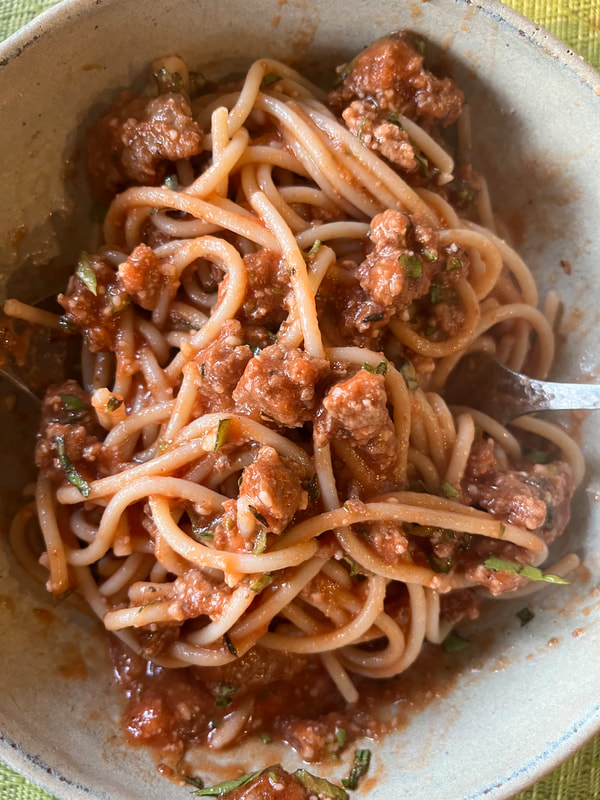
Spaghetti bolognese is the ultimate comfort food for me. It is uncomplicated and delicious. However, if you struggle with digestive issues and can't tolerate garlic and onion (hello fructans), well then, spaghetti quickly becomes a "no go". But wait....what if you don't have to give it up? Well, then you can have the best of both worlds, no bloat and a bowl full of delicious spaghetti.
This LOW FODMAP SPAGHETTI BOLOGNESE is just that. Plus, NO complicated ingredients or online purchases necessary. My favorite pasta is hands down Jovial spaghetti, the texture and the taste is perfection! My other highly recommended staple is Organico Bello Imported Italian Passata (strained tomatoes). The sauce is smooth and creamy and only contains tomatoes and salt. It's also an excellent source of potassium which I find many of my patients are NOT getting enough of. If you want to use low FODMAP garlic infused olive oil you can, but honestly I NEVER use it. I prefer to stick with a quality extra virgin olive oil with robust flavor to really make this dish shine. If you toss your noodles in the olive oil before serving it adds even more flavor and aroma. Plus, you get all those healthy, gut friendly polyphenols to boost! I usually add a splash of red wine to my bolognese sauce, but you don't have to. Just add a little bit of balsamic vinegar instead (don't use the super sweet concentrated kind). If you don't have any issues with FODMAPs of course you can feel free to add garlic and onions to this recipe along with the dried herbs. Really all you need is 1-2 cloves of minced garlic and 1/2 chopped yellow onion. Many people think they need to go overboard with these two ingredients, but often more is not always better, AND someone who is sensitive to FODMAPs may still be able to tolerate the small amount of fructans per serving if you take it easy. Easy Low FODMAP Spaghetti Bolognese INGREDIENTS 1 package Jovial gluten-free spaghetti (or your favorite alternative) 1 tablespoon robust extra virgin olive oil (plus more to toss with your noodles) 1lb grass-fed ground beef (1 prefer 80-85% lean for bolognese because it provides additional flavor) 1 teaspoon each dried oregano, marjoram, and thyme 1 bay leaf 3/4 teaspoon sea salt Fresh ground pepper 1 jar Organico Bello Imported Italian Passata 1 tablespoon balsamic vinegar (or a splash of red wine) 1 tablespoon sugar Optional: chili flakes, fresh basil, and/or grated pecorino cheese DIRECTIONS Bring a large pot of water to a boil. Add salt and cook pasta per package instructions. Rinse and toss in extra virgin olive oil before serving if desired. Meanwhile, heat a large skillet over medium low heat. Add the olive oil and evenly cast the bottom of the pan. Add the grass-fed ground beef, and sauté for 2 minutes, breaking up the beef with a spatula. Add in the desired herbs and bay leaf, and continue to sauté until cooked through and aromatic. Add salt and fresh ground pepper. Pour in the entire jar or strained tomatoes, and stir well to combine. then add the balsamic vinegar (or splash of red wine) and sugar. Stir and allow to simmer 5-10 minutes for the flavors to blend. Adjust salt and pepper to taste and add a pinch of chili flakes if desired. Serve over pasta and top with freshly chopped basil and pecorino cheese.
0 Comments
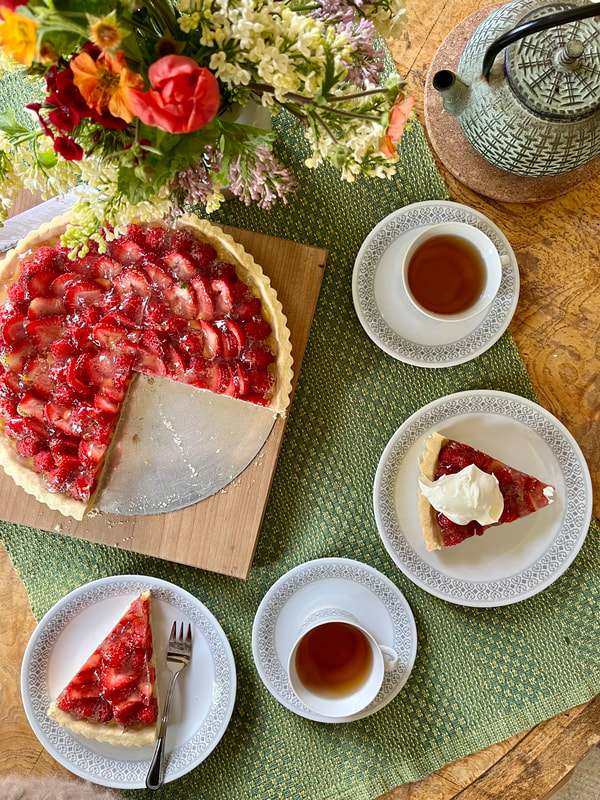
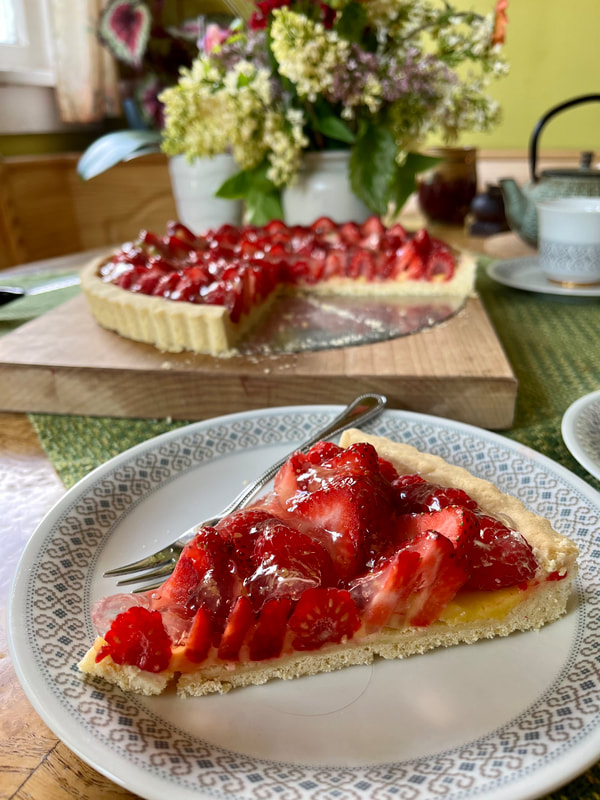
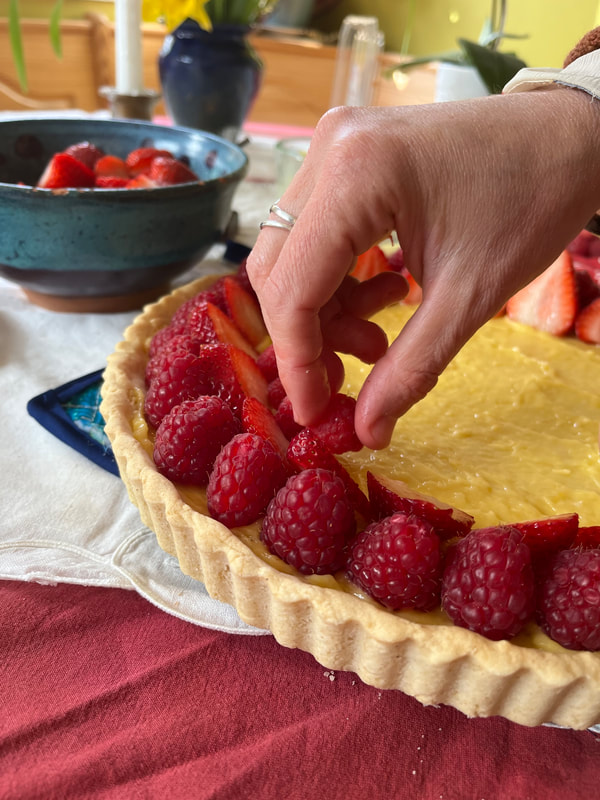
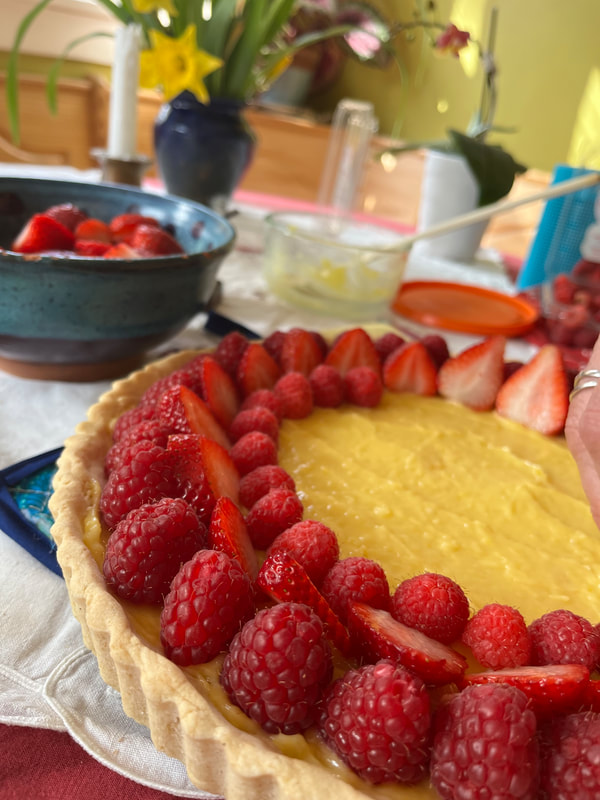
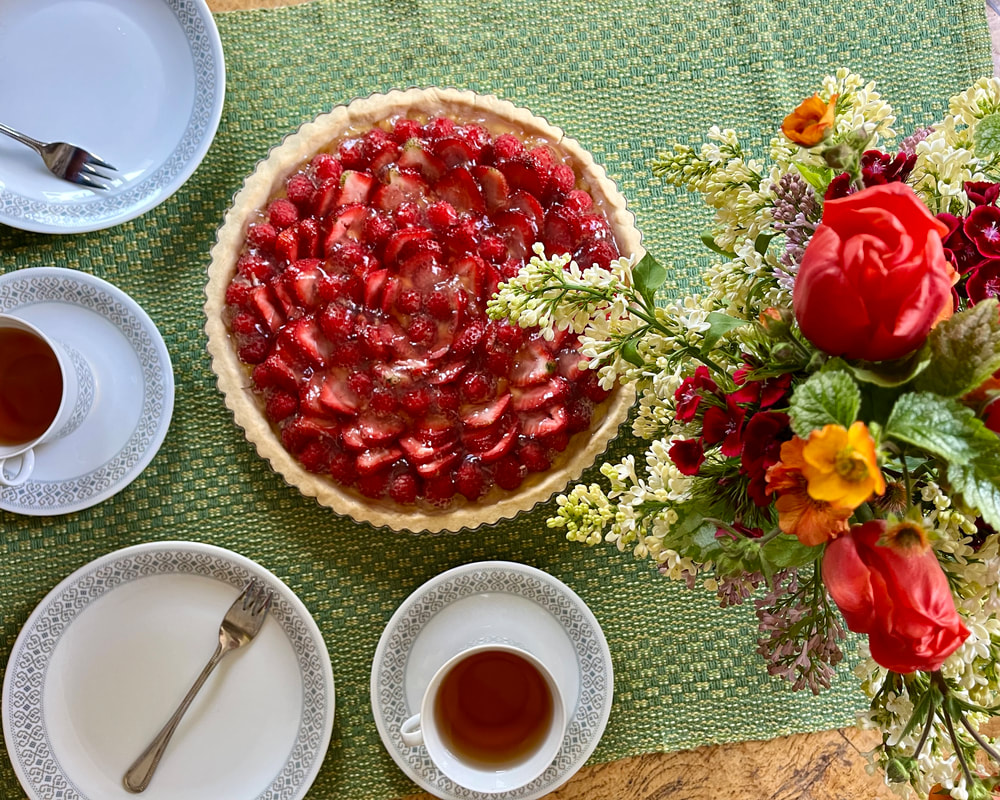 To celebrate Mother's day I would like to share my favorite spring tart. It is very refreshing, light, and symbolic of Spring and Summer. If you like lemony desserts then this is for you! Plus, it looks beautiful and is a wonderful dessert for any special occasion. Although each step is very simple and very easy, some steps do take some time. In order to make this tart with ease, I recommend making the cookie crust and lemon curd the night before so that you can sleep away the cooling time and quickly make the rest of the tart the following day. Fortunately, for those who may be on a restricted diet, this tart is gluten free and naturally low FODMAP if you stick with strawberries and raspberries. Also, it only contains butter, so those who are dairy sensitive may still be able to tolerate it. Serves 8. Sweet Cookie Crust: ½ cup softened salted butter (I use Kerrygold) ¼ cup sugar 1 egg 1 ¼ cup Bob’s 1:1 flour, plus more as needed ½ tsp baking powder Lemon Curd ½ cup lemon juice (~3 lemons) 1 whole egg 1 yolk 3 tablespoons natural cane sugar Zest of 1 lemon 2 T salted butter, flaked Berry Topping 1lb of organic strawberries, washed 12oz of raspberries (or another pound of strawberries) Optional: Any other berries of choosing Lemon Zest Gelee 1 cup (250ml) water, divided 2 ½ teaspoons gelatin or 1 packet Knox Gelatin Zest of ½ lemon 2 tablespoons sugar
With a wooden spoon stir together the softened butter, sugar, and egg. Mix together the flour with the baking powder and gradually mix into the creamed butter mixture. Using the spoon and your hands mix dough until smooth, adding more flour as needed until the dough is no longer super sticky and easily handled. Gluten free flour will always be a bit more sticky than regular flour. Flatten into a disc and cover with plastic wrap or parchment paper. Refrigerate 1 hour or best overnight. When ready to bake the tart, remove the dough from the refrigerator and allow to warm up a bit until pliable and knead a bit. Preheat the oven to 350 degrees. Lightly oil the pan. Then roll out the dough (or see tip) to fit a 10” tart pan. Poke holes into the crust with a fork and bake for 20 minutes or until lightly golden. Allow to cool completely. Tip: Since gluten free dough tends to tear easily, and to avoid discarding bits of the dough, I prefer to break the dough into 4 or 5 equal chunks and divide it out directly onto the tart pan. Then using a baby bottle (without the top) I like to roll out the dough directly into the pan. Then using my fingers I spread the dough evenly into the sides. This way there is no transfer and all dough is used up. Meanwhile, while the dough is chilling, make the lemon curd. In a small saucepan simmer the fresh lemon juice over medium heat until reduced down by half. Pour into a small bowl and set aside to cool. Create a double boiler by filling a saucepan with about 2 inches of water. Bring to a boil and reduce to a simmer. In a ceramic bowl that is large enough to sit in the saucepan without the water overflowing, mix together the whole egg, the egg yolk, sugar, and lemon zest. Add the cooled lemon juice, and whisk together. Place the bowl into the medium saucepan, and whisk continuously until the mixture thickens. Using heat proof gloves remove from the heat and immediately add the salted butter flakes to the curd and whisk for about a minute to create a shiny smooth lemon curd. Transfer into a small glass jar and refrigerate.
While curd and cookie crust are cooling, prep the berries of your choice. If using strawberries, rinse well and cut off the green tops. Depending on the size of the strawberry slice into half, thirds, or quarters to have even slices. If using raspberries, leave them as is because water tends to soften them too much. Rinse and dry blackberries or blueberries if using.
Once the cookie crust is cooled and the curd is cold, use a spatula to evenly spread the curd over the bottom of the crust. Then arrange the berries on top in any way that suits your fancy and refrigerate. Finally, pour ~1/4 of the cold water into a jar and sprinkle the gelatin on top. Pour the remaining water into a saucepan. Add the lemon zest and sugar and bring to a boil. Once boiling allow to simmer for a minute and then remove from heat. Add ~2 tablespoon of the hot liquid to the cold liquid and stir to combine. Then pour the cold liquid mixture back into the hot liquid mixture. Stir to combine. Transfer the gelee mixture into a glass or metal bowl and refrigerate until it is just starting to gel. You want it to be spoonable and thick like kefir, but not thin like water. Check after 30 minutes, then again every 5 minutes so that you don't miss the perfect texture. If it does gel too much, just sit the bowl into a warm water bath to gently warm up the gelee and thin up a little. Gently spoon the mixture evenly over the entire tart to cover the berries as best as possible. Then refrigerate the entire tart until the gelee has fully set and ready to serve. Best enjoyed within 3-4 days after making, if it lasts that long. For extra decadence serve with homemade whipped cream, but it’s not required because it tastes super yummy on its own.
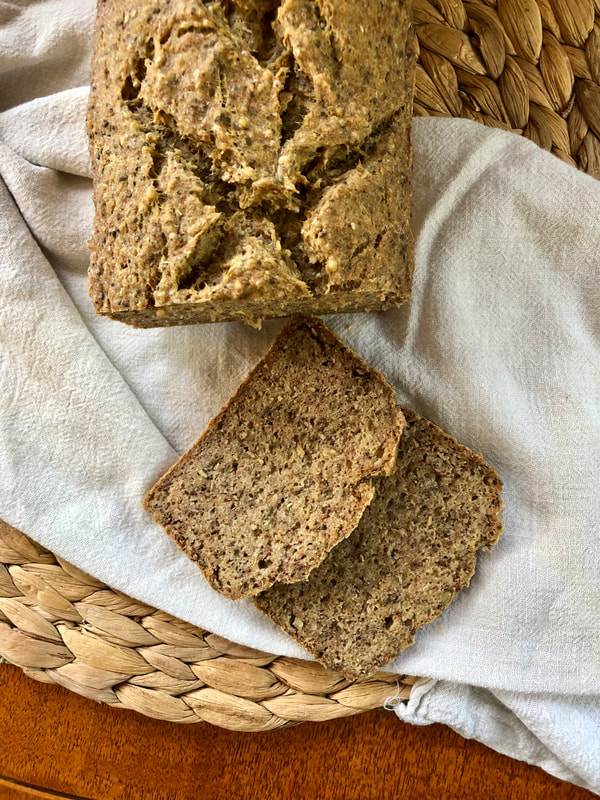
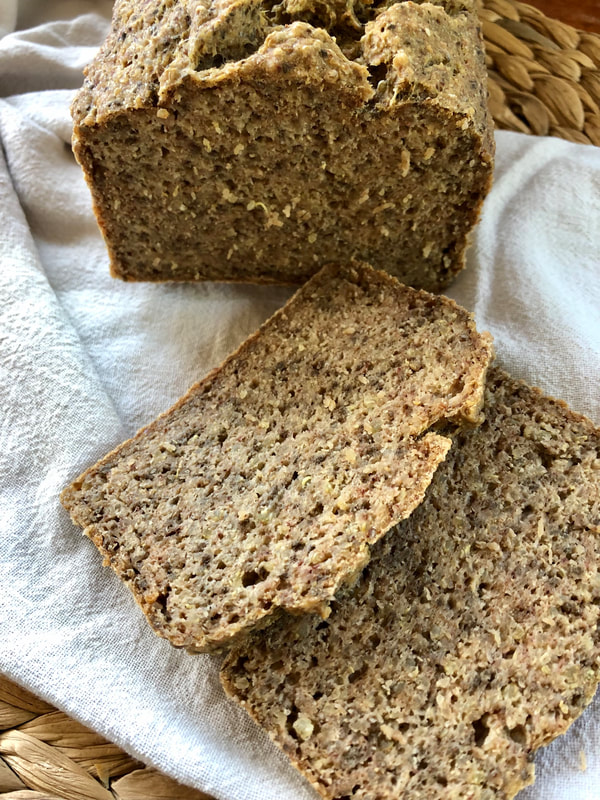
Bread....so comforting yet so convoluted in the gut health arena. If your struggling with digestive issues it's likely you have had to avoid bread or swap traditional breads with gluten-free alternatives. Unfortunately, most gluten free bread out there is S H I T. Firstly, the quality is horrible and secondly it tastes like nothing. So I made it my mission to make a bread that was 1) easy to make, 2) highly nutritious and delicious, and 3) gut friendly. So are you ready?? The Gut Friendly Loaf is THE BREAD for all you folks struggling with gut issues. Why is that?? Well firstly, it is prepared from raw, organic gluten-free grains (not flours). When grains are soaked in acidic water an enzyme called phytase is activated which breaks down phytates. Phytates can be irritating to an inflamed gut and can bind to minerals in our food. However, folks with good gut health and good gut microbiome diversity can tolerate a higher phytate diet because lactobacillus and other bacterial species can produce their own phytase. Most folks with gut issues already struggle with malabsorption and have dysbiosis. Therefore they often find symptom improvement on grain free diet likely because of previous high consumption of poorly prepared grains & flours. Unfortunately, the amount of phytase found in grains is reduced when they are ground to flour because phytase is easily destroyed by high temperatures. Also the longer the flour is stored, the less phytase there is. Optimally flours are ground fresh, soaked and/or fermented, and used immediately. Today convenience often takes precedence over proper preparation. If you are interested in learning more check out this article from the Weston A Price Foundation. Interestingly, buckwheat (a gluten-free pseudo-grain) naturally contains very high amounts of phytase, whereas quinoa does not. Therefore, combining the two grains during the soaking process allows you to reap the benefits of both. Both quinoa and buckwheat when properly prepared are high in plant protein, fiber, and minerals. Plus, they are both considered low FODMAP, which means individuals with IBS and SIBO are likely to tolerate them, especially if properly prepared. Secondly, the bread is bound with chia seeds (also low FODMAP) in place of eggs or gums which often are not tolerated in gut sensitive individuals. Plus, this bread does not contain yeast, which also can be a common food trigger, and instead baking soda is used for leavening. And finally, this bread is naturally gluten-free and dairy-free, which also helps many. So with a lot of thought and care I have developed this recipe to serve you in the best of ways. If you have been avoiding grains or eating refined non-organic gluten-free breads, then it's time to give this Gut Friendly Loaf a try. Perhaps it will help bring back more joy to your plate and to your palate and even connect you more with your food. It is simple, nutritious, and very satisfying especially when toasted. I personally love it toasted with butter and local honey or I make open faced sandwiches. Follow me on Instagram for more fun ways to use this bread. Anyways, this is my holiday gift to you, your welcome! 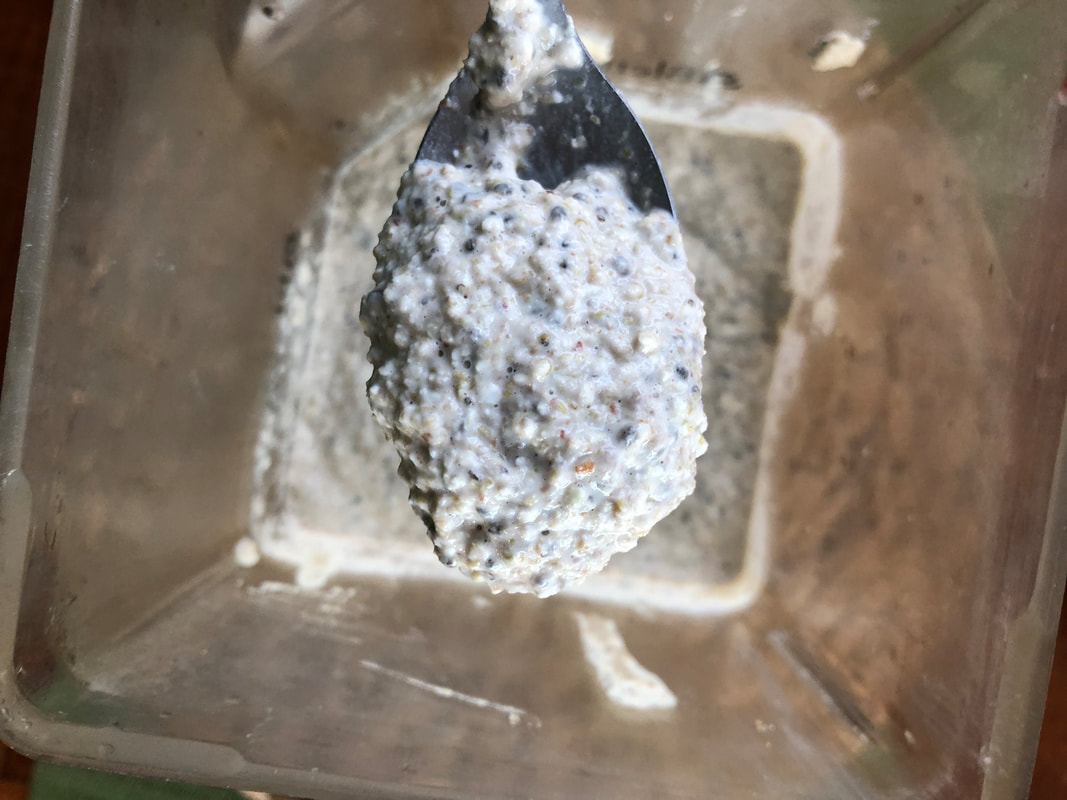 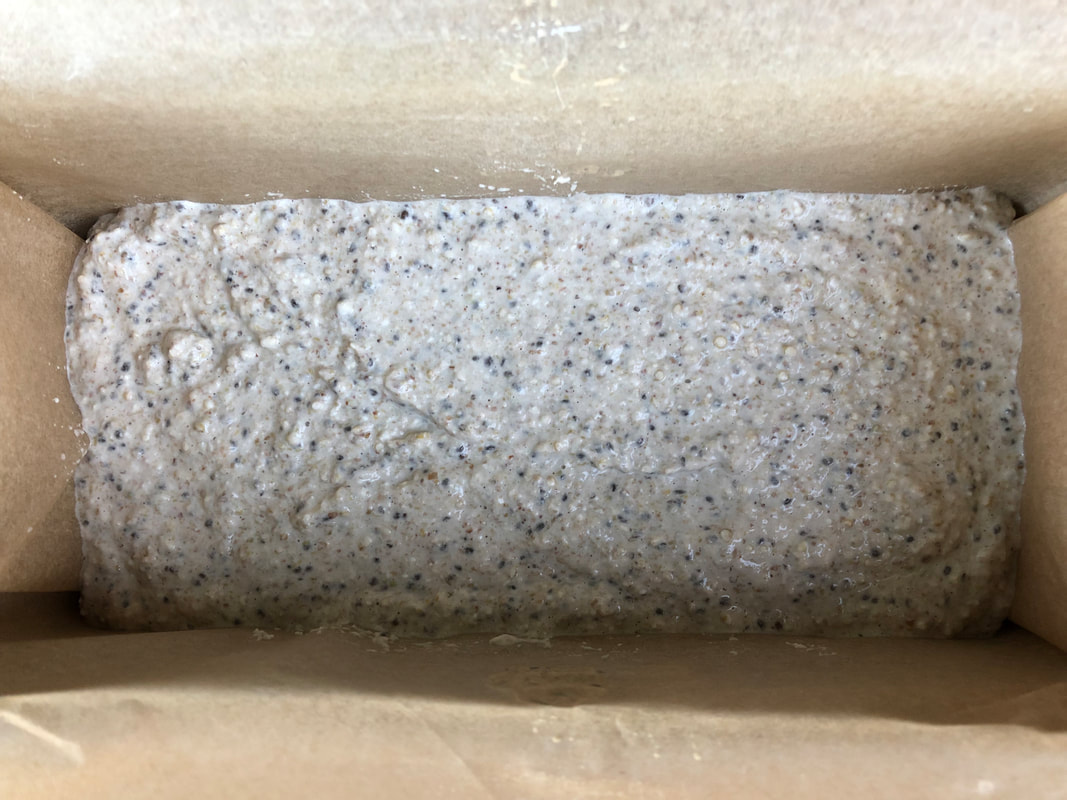 Buckwheat Quinoa Chia Bread
Makes ~16 slices or 8 servings INGREDIENTS 1 cup organic tan quinoa 1 cup organic raw buckwheat grouts Filtered water 1 tablespoon apple cider vinegar ¼ cup chia seeds 1 cup filtered water, divided 2 tablespoons lemon juice 2 tablespoons olive oil ½ teaspoon Redmond’s Real Sea Salt 1 teaspoon baking soda DIRECTIONS Place the quinoa and raw buckwheat grouts into a large glass or ceramic bowl, cover generously with filtered water, and stir in apple cider vinegar. Cover with a clean kitchen towel and let soak overnight or at least 12 hours at room temperature. Strain the soaked grains in a colander and rinse well. Allow the excess water to drain for about 5 minutes. Meanwhile, preheat oven to 350 degrees and mix the chia seeds with ½ cup filtered water. Stir with a fork and allow to gel, about 5-10 minutes. Meanwhile prepare your loaf pan and line with parchment paper. See the video here for instructions. Ideally use a small Pullman pan, but a typical banana bread loaf pan works too (you just may need to bake it a little longer). Once your grains are strained and your chia seeds are soaked you are ready for the next step. Transfer the strained grains into a high speed blender (I use a BlendTec) or food processor and add ½ cup filtered water, lemon juice, 2 tablespoons olive oil, and ½ teaspoon sea salt. Process until the mixture starts to become a batter and the blade runs well. Add the chia seeds and process some more until most of the quinoa seeds are blended but not all. Keeping some of the texture allows for a better rise. Finally, add the baking soda and pulse until well combined. Then transfer bread batter into the loaf pan and gently (not deeply) slice diagonal lines or X’s across the top to allow for a more uniform rise. Bake for 90 minutes at 350 degrees or until inserted toothpick comes out clean. Remove from pan, remove parchment paper, and allow to cool on cooling rack completely before cutting. Store in the refrigerator for a week. Nutrition Per Serving (2 slices): 200kcal, 30g carbs, 7g fat, 5g fiber, 6g protein. Note: If you cannot tolerate quinoa, millet or sorghum will likely work too. However, I have not tried this combination yet. Please let me know how it goes if you experiment. Alternatively, use 100% buckwheat. |
RecipesI hope you enjoy my creative, flavorful, and nutrient dense approach to whole foods cooking. All recipes are gluten free. Archives
December 2022
Categories
All
|
 RSS Feed

|

|
Providing custom functional nutrition therapy since 2015.
Follow HBN on Social Media!
©Happy Belly Nutrition, LLC 2015-2023