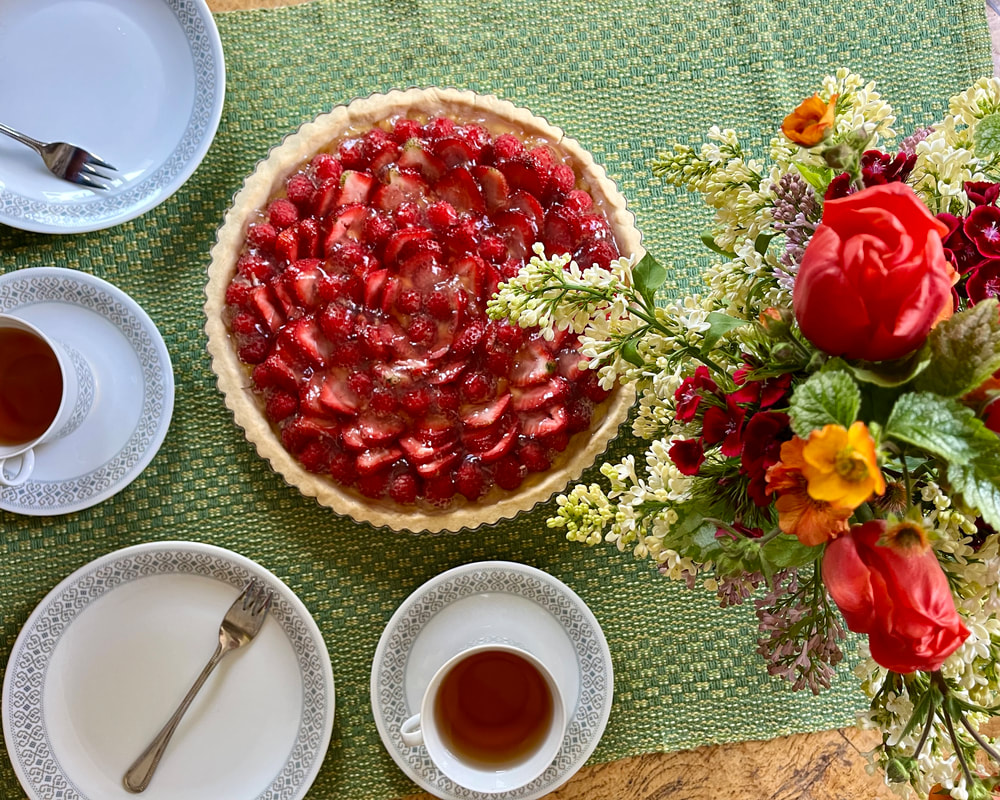
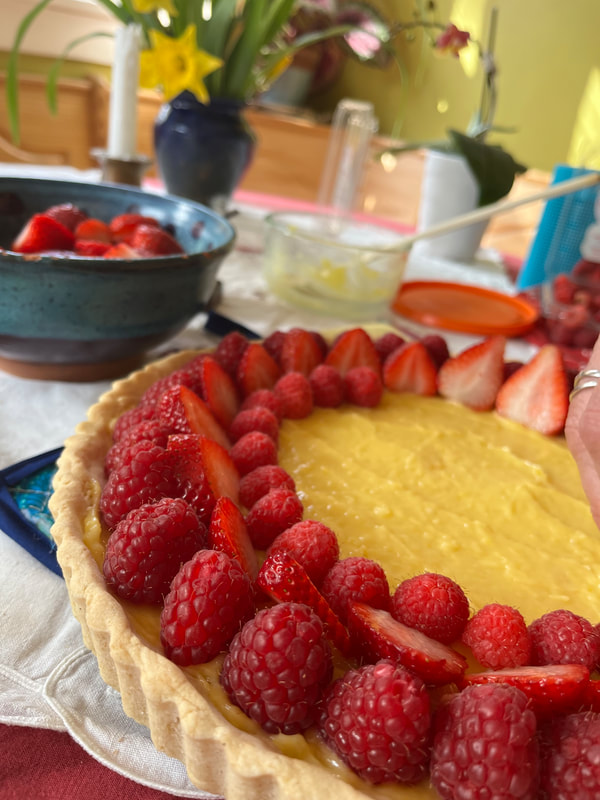
 To celebrate Mother's day I would like to share my favorite spring tart. It is very refreshing, light, and symbolic of Spring and Summer. If you like lemony desserts then this is for you! Plus, it looks beautiful and is a wonderful dessert for any special occasion. Although each step is very simple and very easy, some steps do take some time. In order to make this tart with ease, I recommend making the cookie crust and lemon curd the night before so that you can sleep away the cooling time and quickly make the rest of the tart the following day. Fortunately, for those who may be on a restricted diet, this tart is gluten free and naturally low FODMAP if you stick with strawberries and raspberries. Also, it only contains butter, so those who are dairy sensitive may still be able to tolerate it. Serves 8. Sweet Cookie Crust: ½ cup softened salted butter (I use Kerrygold) ¼ cup sugar 1 egg 1 ¼ cup Bob’s 1:1 flour, plus more as needed ½ tsp baking powder Lemon Curd ½ cup lemon juice (~3 lemons) 1 whole egg 1 yolk 3 tablespoons natural cane sugar Zest of 1 lemon 2 T salted butter, flaked Berry Topping 1lb of organic strawberries, washed 12oz of raspberries (or another pound of strawberries) Optional: Any other berries of choosing Lemon Zest Gelee 1 cup (250ml) water, divided 2 ½ teaspoons gelatin or 1 packet Knox Gelatin Zest of ½ lemon 2 tablespoons sugar
With a wooden spoon stir together the softened butter, sugar, and egg. Mix together the flour with the baking powder and gradually mix into the creamed butter mixture. Using the spoon and your hands mix dough until smooth, adding more flour as needed until the dough is no longer super sticky and easily handled. Gluten free flour will always be a bit more sticky than regular flour. Flatten into a disc and cover with plastic wrap or parchment paper. Refrigerate 1 hour or best overnight. When ready to bake the tart, remove the dough from the refrigerator and allow to warm up a bit until pliable and knead a bit. Preheat the oven to 350 degrees. Lightly oil the pan. Then roll out the dough (or see tip) to fit a 10” tart pan. Poke holes into the crust with a fork and bake for 20 minutes or until lightly golden. Allow to cool completely. Tip: Since gluten free dough tends to tear easily, and to avoid discarding bits of the dough, I prefer to break the dough into 4 or 5 equal chunks and divide it out directly onto the tart pan. Then using a baby bottle (without the top) I like to roll out the dough directly into the pan. Then using my fingers I spread the dough evenly into the sides. This way there is no transfer and all dough is used up. Meanwhile, while the dough is chilling, make the lemon curd. In a small saucepan simmer the fresh lemon juice over medium heat until reduced down by half. Pour into a small bowl and set aside to cool. Create a double boiler by filling a saucepan with about 2 inches of water. Bring to a boil and reduce to a simmer. In a ceramic bowl that is large enough to sit in the saucepan without the water overflowing, mix together the whole egg, the egg yolk, sugar, and lemon zest. Add the cooled lemon juice, and whisk together. Place the bowl into the medium saucepan, and whisk continuously until the mixture thickens. Using heat proof gloves remove from the heat and immediately add the salted butter flakes to the curd and whisk for about a minute to create a shiny smooth lemon curd. Transfer into a small glass jar and refrigerate.
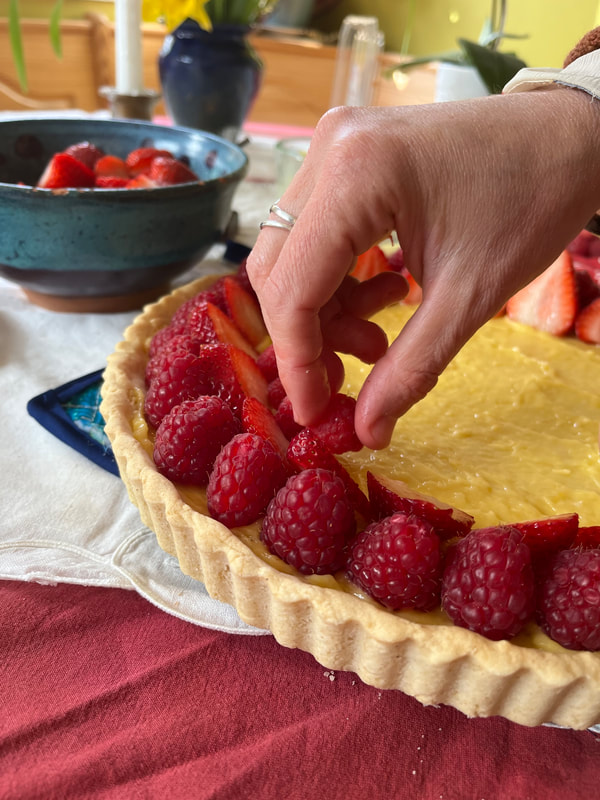
While curd and cookie crust are cooling, prep the berries of your choice. If using strawberries, rinse well and cut off the green tops. Depending on the size of the strawberry slice into half, thirds, or quarters to have even slices. If using raspberries, leave them as is because water tends to soften them too much. Rinse and dry blackberries or blueberries if using.
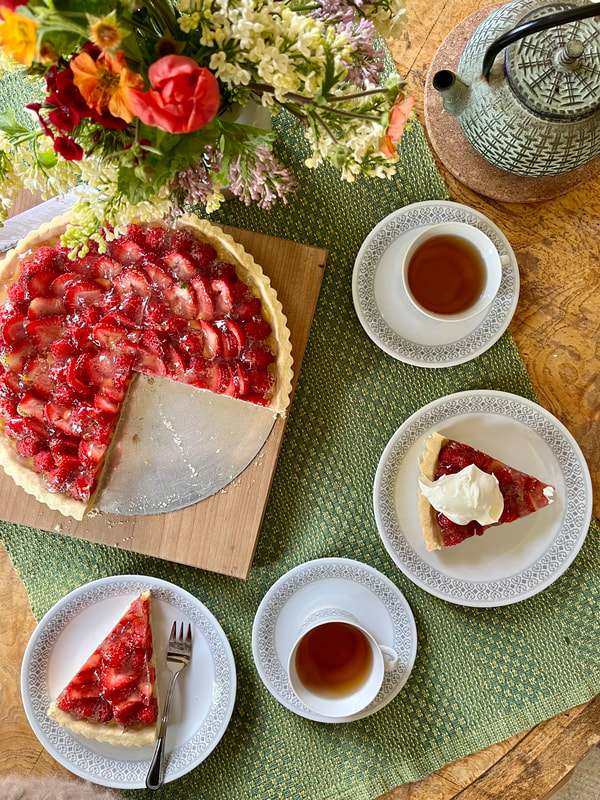
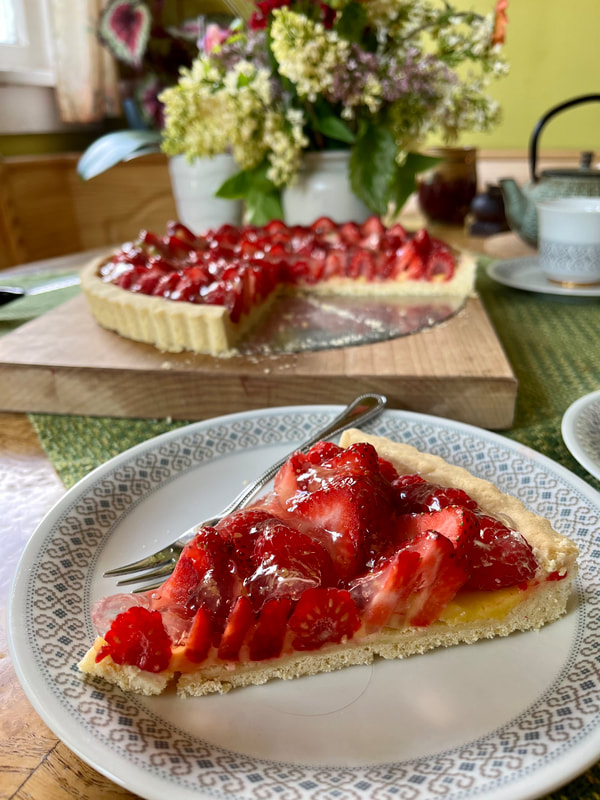
Once the cookie crust is cooled and the curd is cold, use a spatula to evenly spread the curd over the bottom of the crust. Then arrange the berries on top in any way that suits your fancy and refrigerate. Finally, pour ~1/4 of the cold water into a jar and sprinkle the gelatin on top. Pour the remaining water into a saucepan. Add the lemon zest and sugar and bring to a boil. Once boiling allow to simmer for a minute and then remove from heat. Add ~2 tablespoon of the hot liquid to the cold liquid and stir to combine. Then pour the cold liquid mixture back into the hot liquid mixture. Stir to combine. Transfer the gelee mixture into a glass or metal bowl and refrigerate until it is just starting to gel. You want it to be spoonable and thick like kefir, but not thin like water. Check after 30 minutes, then again every 5 minutes so that you don't miss the perfect texture. If it does gel too much, just sit the bowl into a warm water bath to gently warm up the gelee and thin up a little. Gently spoon the mixture evenly over the entire tart to cover the berries as best as possible. Then refrigerate the entire tart until the gelee has fully set and ready to serve. Best enjoyed within 3-4 days after making, if it lasts that long. For extra decadence serve with homemade whipped cream, but it’s not required because it tastes super yummy on its own.
0 Comments
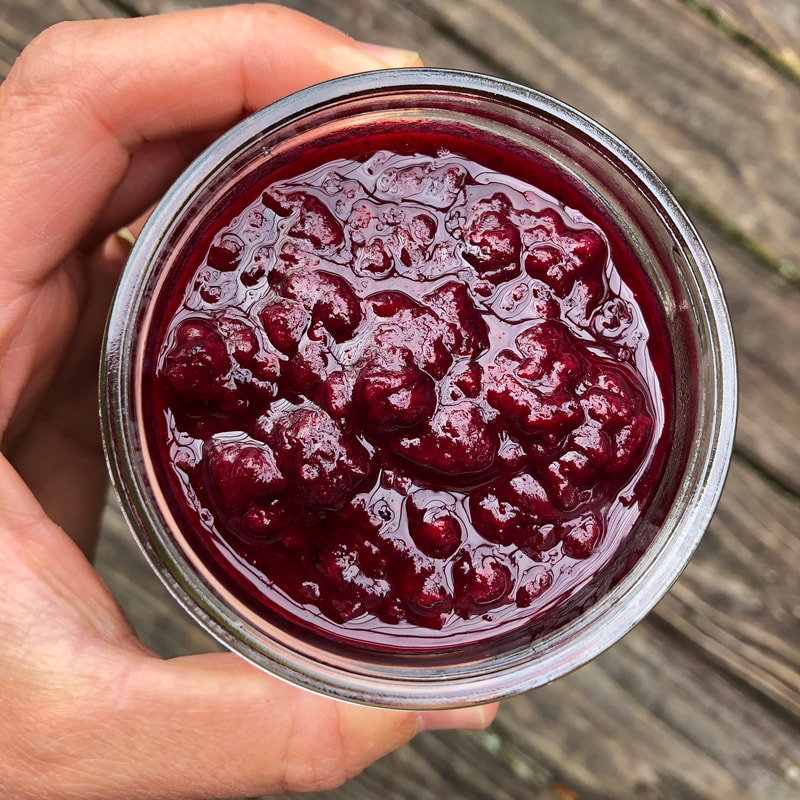
I love blackberries. Maybe it is because they bring me back to my childhood memories, picking buckets upon buckets along the Skagit River, to make a years supply of blackberry jam. My father always recruited my brother, my mom, and I to help him pick. The more, the better. The following days would be spent making jam, wafting the aroma of blackberries and lemon throughout the house. We always made so much that the surplus became holiday gifts for friends. It was a time when all four of us were together, happy and healthy. Now in my mid thirties I am reliving this memory. Earlier this week Toren and I went to pick our own bucket full at the abundant neighborhood blackberry bushes down the street. Within a quarter hour, I had picked plenty for a little batch of jam, and extra for snacking. The hot rays of the sun had transformed the little firm green berries into plump, sweet, and juicy bits of dark purple goodness. They were delicious. Inspired by a glass of good red wine, I got into production mode. How could I make a delicious, unique and healthy jam with these perfectly ripened blackberries? Well, instead of sugar I decided to use dates. They not only sweeten, but also carry along fiber which helps thicken the jam, vitamins and minerals. A generous swig of red wine, and a squeeze of lemon juice also brighten the flavor.
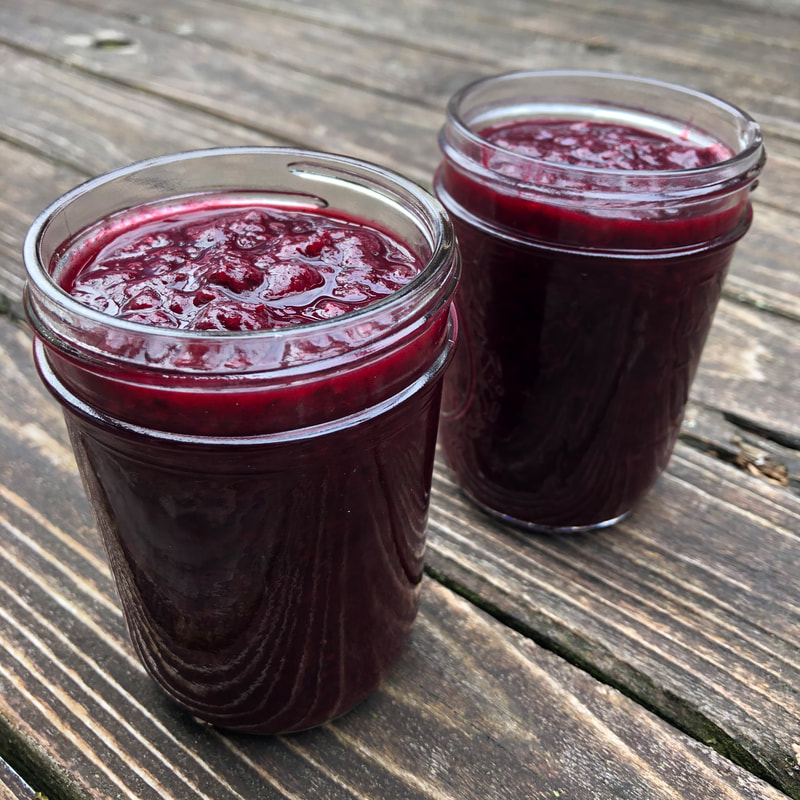
Making homemade jam is great way to preserve these delicious berries and have access to them year round. Blackberries are EVERYWHERE FOR FREE right now, so don't spend your money on bland store bought alternatives. Just make sure to pick berries aways from high traffic zones, and to rinse them thoroughly prior to use. You can even freeze them for later. Plus, you have full control of what you use to sweeten the jam. Besides using it on buttered toast, you can stir some into plain yogurt, into oatmeal, or even add a dollop to vanilla ice cream. I hope you like this lightly sweet jam that tastes of high summer.
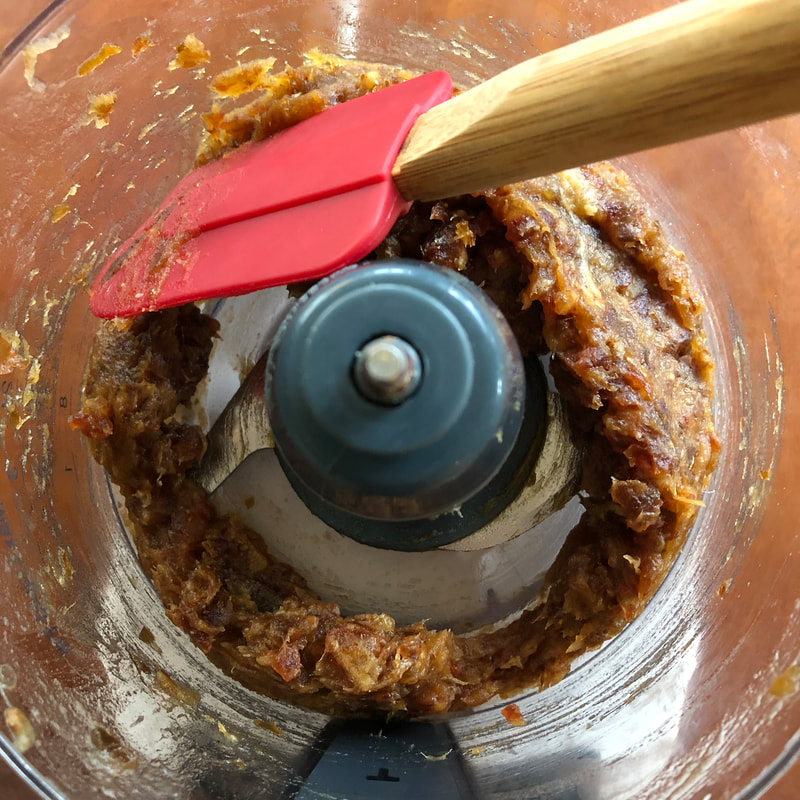
Blackberry and Red Wine Jam Makes Four 8oz mason jars INGREDIENTS 6 cups rinsed blackberries 12 medjool dates, pitted and soaked with hot water for 10 minutes 1/2 cup red wine (I used cabernet sauvignon) juice of 1/2 lemon DIRECTIONS Put blackberries and red wine into a large saucepan and heat until boiling. Reduce heat to a steady simmer. With a large spoon or fork crush the blackberries against the side of the pot. Stir often and allow the berries to break down completely and the liquid to reduce. This takes about 20 minutes. Meanwhile, place dates into a food processor, and discard the soaking water. Process until a smooth paste is formed. Add the date paste and lemon juice to the blackberry and wine mixture and stir well. Allow to simmer for about 5 minutes while stirring often. Do not let it burn on the bottom! Meanwhile bring a large pot with mason jars and a little water to a boil. Place a lid on top to keep steam in. This will sterilize your jars. Pour the hot jam liquid into sterilized jars and top with clean lids. Place on counter top until the lids "pop" inward. They can now be stored safely for later use. Alternatively, you can transfer the jam into jars random clean jars, allow to cool, top with lid, and then freeze. Either way is fine.  Lemon Curry Four Bean Salad This refreshing take on a bean salad is a perfect addition to your summer meals. Rich in protein and fiber, it will keep you full and satisfied. Plus, the prebiotic fibers will keep your gut bugs humming with joy. Unfortunately, individuals with SIBO/IBS may NOT tolerate this recipe well due to the high prebiotic content. This bean salad keeps well, and improves in flavor the longer it sits. If you cannot tolerate onion, add in diced bell pepper or cucumber for the crunch factor. Plus, you can easily replace the clove of garlic with a tsp of finely chopped fresh oregano for spice, or simply omit. Serves 6 INGREDIENTS 1/3 cup extra virgin olive oil ¼ cup apple cider vinegar Juice and zest of 1 lemon (plus more lemon juice prior to serving) 2 tablespoons honey ¼ teaspoon yellow curry powder ¼ teaspoon sea salt, plus more to taste Fresh ground pepper ½ large onion, finely chopped 1 clove garlic, finely minced 1 ½ cups frozen green beans, thawed 1 can garbanzo beans 1 can kidney beans 1 can great northern beans Generous handful finely chopped cilantro/basil/parsley DIRECTIONS In a large bowl whisk together the olive oil, vinegar, lemon juice & zest, curry powder, sea salt, and fresh ground pepper, until the honey and salt are dissolved. Stir in the chopped onion and garlic and allow to marinate in dressing. Meanwhile, measure out about 1 ½ cup of frozen green beans and briefly thaw in microwave. Alternatively, leave out at room temp until thawed. Cut the green beans into smaller pieces using kitchen shears. Transfer to bowl. Drain and rinse the canned beans, and transfer to the bowl. Mix all the ingredients together, sprinkle in the chopped fresh herb of choice, and stir until combined. Season with additional salt and pepper to taste. When ready to serve, squeeze a little fresh lemon juice over each serving and enjoy! Eat Happy,
Selva |
RecipesI hope you enjoy my creative, flavorful, and nutrient dense approach to whole foods cooking. All recipes are gluten free. Archives
December 2022
Categories
All
|

 RSS Feed

|

|
Providing custom functional nutrition therapy since 2015.
Follow HBN on Social Media!
©Happy Belly Nutrition, LLC 2015-2023